It's been a busy week and a half since I last posted. I let a bit too much time get away from me between posts again, but it was for a very good reason: I put in an application to a Talent Development program at a major animation studio this week. Fingers crossed that something amazing comes of it! Now, back to daily art practices:
Day 75:
I revamped my demo reel a few times this week. Today I completed the most recent version; I fixed a couple of errors in the revamp that I completed earlier in the week. In the earlier version both my Gecko and my Juggler models disappeared shortly before the screen faded to black. One minute they were there, then suddenly they weren't, then the frame faded to black before progressing on to the next set of turntables. They both did this in slightly different ways for slightly different reasons, but I was able to identify both problems and adjust the file accordingly. I don't know how I missed it before I uploaded the version that I completed earlier this week to the internet...
Day 73 & 74:
I worked on the same thing two days in a row and never paused to take in-progress screen shots of it. So here is the finished image covering both days' worth of work.
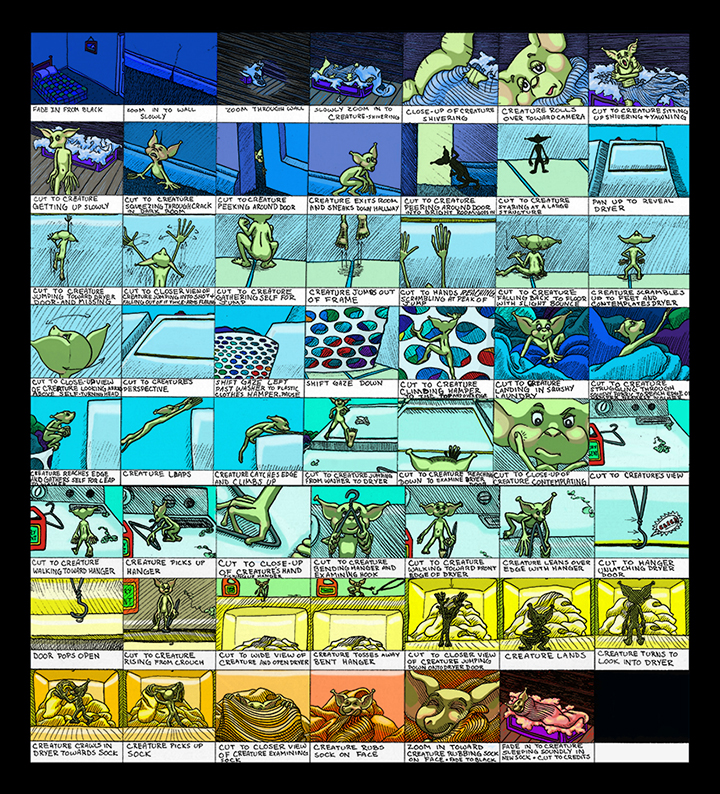
I didn't complete this entire storyboard in the two days that I worked on it. I actually began the thing a few years back, then lost interest in it in favor of other projects. It's been nestled in the back of my mind on my to-do list, however, and for some reason I really felt that it would be a valuable example to add to my Talent Development program application portfolio. Most of the work that I completed over the two day span was coloring the panels. All of the initial drawing and layout was already completed, and I had blocks of color multiplied over each panel depicting the dominant shade that I wanted each frame to be. The work that I did over the weekend was pretty akin to coloring in a digital coloring book of my own creation.
Day 72:
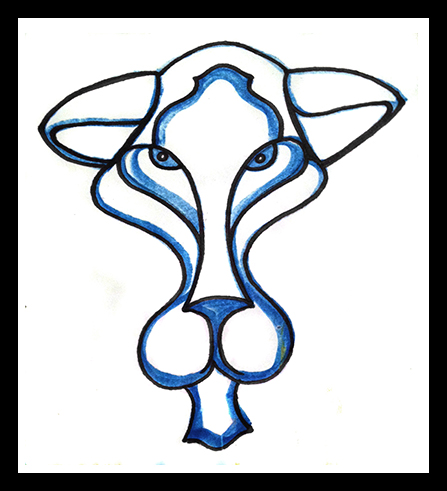
Saturday's work was just a quick sketch of a lion head. I found myself studying the contours of the face of a leopard whose photograph appears occasionally as my computer's desktop wallpaper and wanted to draw a new version of it. Changing the proportions of the face turned it distinctly lion-like, but, as I wasn't really aiming for any type of cat in particular, I was pleased with it. I'd like to turn this sketch into vector artwork in Illustrator someday.
Day 71:
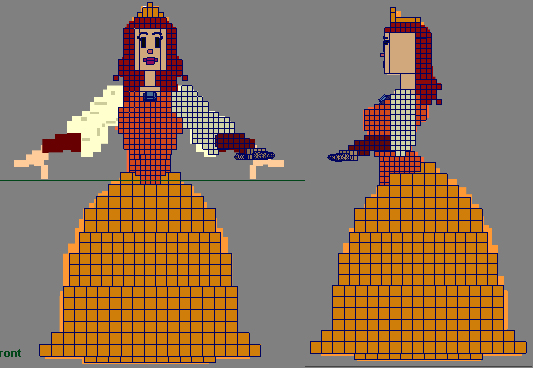
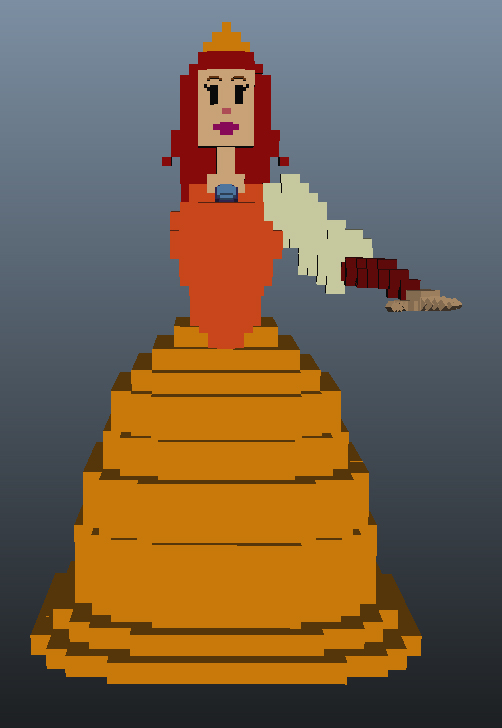
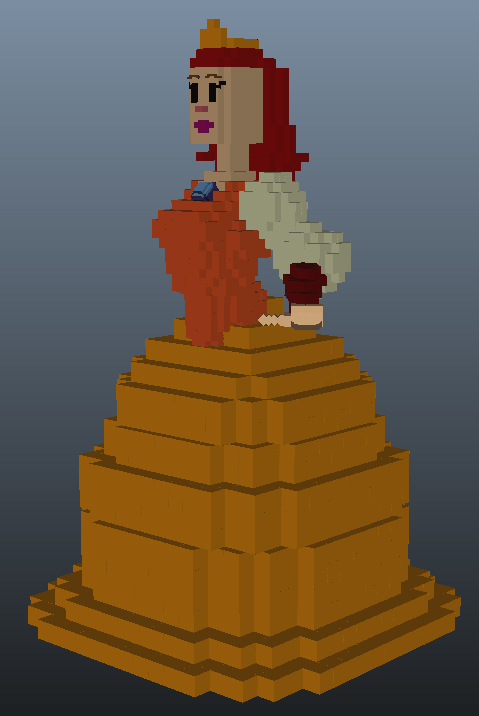
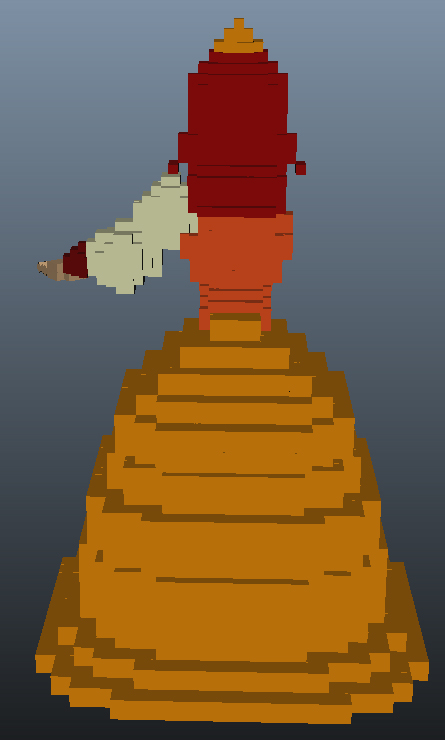
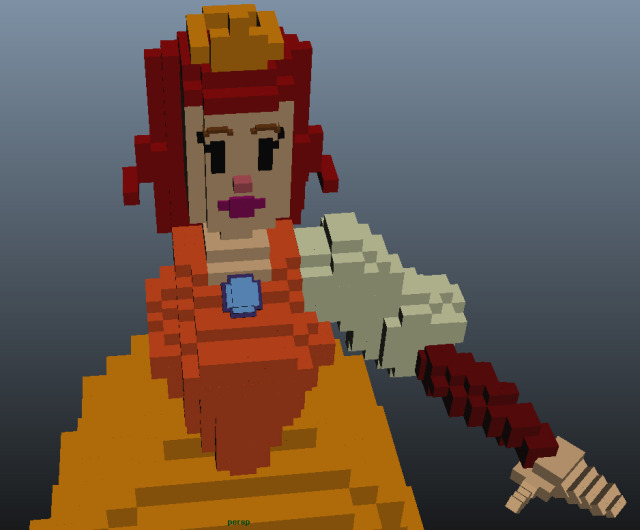
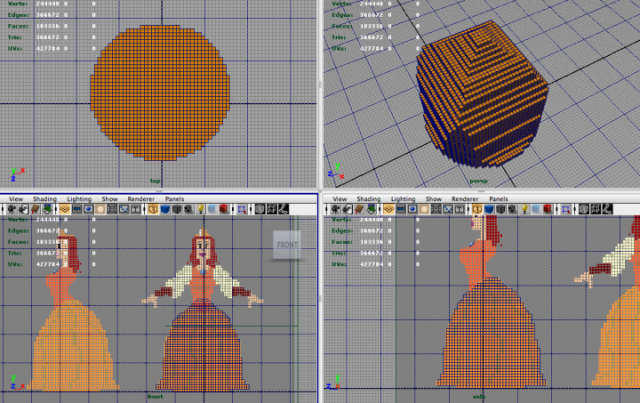
Friday I spent a short amount of time UVing the clock on my Juggler:
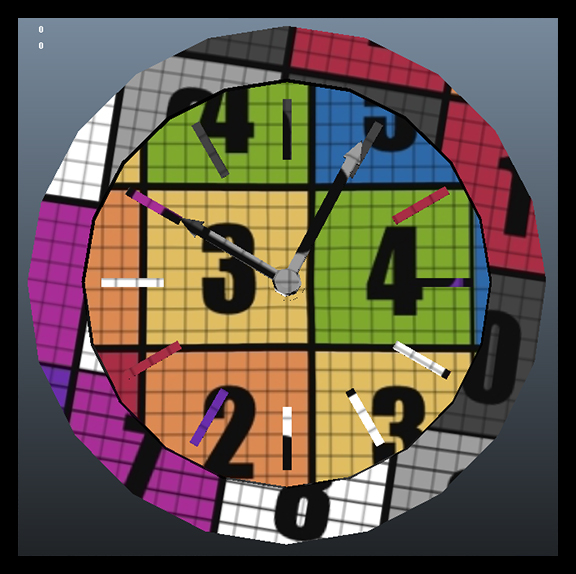

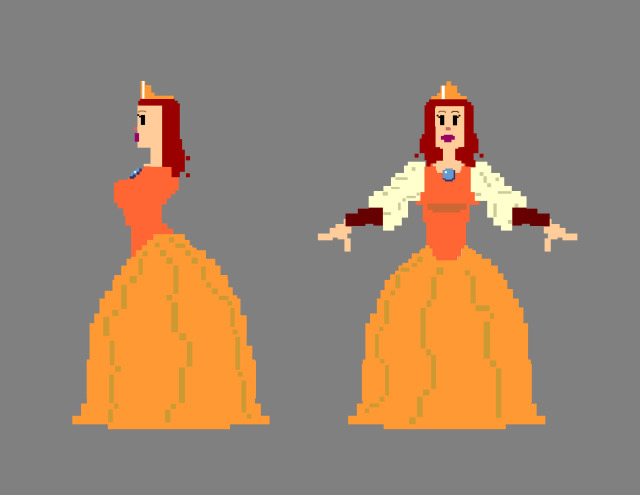
I've been UVing all of the Juggler's pieces separately because I started working on the character this way, but I know now that that was a mistake. Having a separate UV map for each piece of the character wastes space and makes the character far too data-heavy to function efficiently. I can't do much to fix all of the UVs on the objects that I've already added normal and texture maps to without re-doing an awful lot of work, but I can, and will, combine the UV maps of some of objects that have no texture information to them yet before I go about adding such information. I'm planning to dispense with the procedural textures that I gave the Juggler for my thesis and texture paint her in Mudbox instead. She will be a wonderful piece to add to my texture portfolio, which is distinctly lacking at the moment.
Day 70:
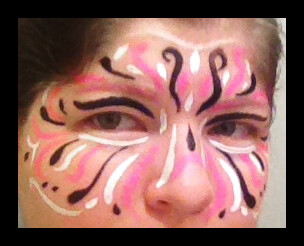
My art on Thursday consisted solely of a quick little face-painted mask of-sorts. More practice for when I begin doing this at the farmer's market.
Day 69:
Wednesday was the day that I truly revamped my demo reel. I fixed the little issues that I missed later in the week, but this was the day that I truly put effort into working on it. It's fairly similar to the reel that I've been using (it features many of the same models with the same turntables), but the turntables are re-ordered to showcase my best models first. I know that this is how a demo reel should go: you show your best work first so that the recruiter who views 100 demo reels per day becomes interested immediately and doesn't just turn your reel off thinking that everything on it must be as mediocre as the first thing and move on to the next reel. I know that's how it works, and yet... I've been using my thesis reel because I know that it has my best models on it. The problem is: I designed my thesis reel to work up to my best work because I knew that the panel that it was intended for was going to watch the entire thing and then discuss it. I saved the best for last, which is exactly opposite of what you should do when you create a demo reel. And somehow, until quite recently, I missed the error. I never revamped my thesis reel to make it more appropriate as a demo reel in any way other than changing the slate information to be more suited to its purpose; until now.
The new reel puts my Addict first, followed by my newly-textured Gecko. Then comes the Juggler and the Warrior. Next is the Gallery environment. I nixed the still image of all of the models in the environment together because it no longer reflects the current state of the models now that the Gecko is textured; it also makes the addition of my Felix model tagged onto the end distinctly out-of place.
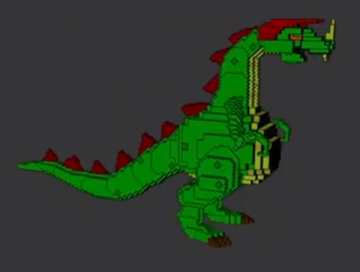
This version of the reel includes the 8-bit Dragon for "Amazing Adventure" at the very end after Felix, but I nixed that turntable later in the week when I fixed the errors in the reel because I'm just not happy with the quality of the turntable that I created for that model. It's not lit properly, the speed isn't constant, there's no wireframe view... It just looks unprofessional compared to the rest of the reel. Felix doesn't have a wireframe turn either, but the quality of the turn-around that he does have is so far above the one that I quickly set up and rendered of the dragon that I'm still satisfied having him at the end.
Day 68:
I spent the first three days of this round of daily art prepping my Szeth-Son-Son-Vallano model for 3D printing.

I'm not planning to sell him or anything of that nature, but, after the artist who designed the character said such nice things about the model, I figured that it would be nice to have a physical representation of him. I might even try to send one to the artist and the author who created the character if I'm successful; I know that the author, at least, really appreciates fan art.
Unfortunately, getting a model such as this ready for 3D printing is no easy feat. First off, The model has to be water-tight, which means one single, solid piece. When I built the model he consisted of exactly 15 different pieces. It also has to be under one million polygons, and the model that I built had something like 8 million quads if my memory serves me correctly. There is also a minimum thickness that any part of the model can be (how much that is depends on the material used to create the print), a minimum distance between two separate sections of the model (which means no intersecting or otherwise touching geometry), and a slew of other stipulations about the dimensions of the piece which will cause me less grief than the few that I have already mentioned. This means that I had to decimate the model to bring the poly-count down below one million while keeping all of my sculpted detail, and then connect all of the different pieces and any piece of geometry currently touching any other (this includes connecting the fingers resting on the surface of the model's face to the face as well as attaching the wrists to the sleeves and the coat to the shirt and the pants to the belt and every other piece to all of the other pieces).
I originally thought that I could complete the task of connecting all of the different pieces of the model fairly easily by putting all of the subtools on one layer in ZBrush and Dynameshing the entire thing, but it didn't work as well as I'd hoped. The geometry that Dynamesh produced needed so much clean up that it just wasn't worth it - at least by pixel-pushing and merging vertices in Maya I have more control and can keep track of what's going on with the shape of the model. I couldn't even make sense of all of the intersecting geometry that Dynamesh created...
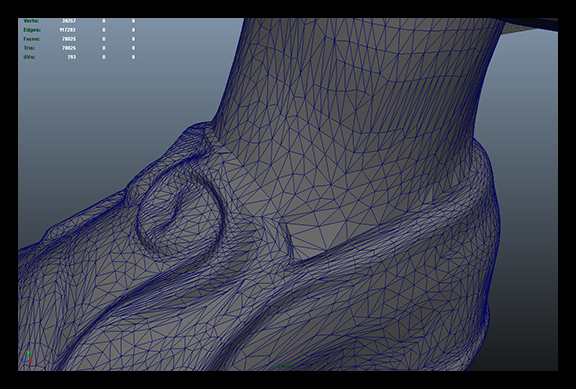
So, after trying and failing attempted shortcuts in ZBrush a few times I brought the decimated model into Maya and have been merging vertices "by hand" ever since. The model will still require a lot more work before it's done, as well as some additional ZBrush sculpting to clean up the flow of the seams once the model is all one piece, but it's coming along:

The above image illustrates where I've deleted geometry from both the shirt and the belt in the areas that it overlaps. Next I will connect the vertices to make it water-tight.

This image clearly illustrates why the model will require extra sculpting in ZBrush to clean up the newly-created seams between the previously separate items.
Day 67:
On this day I connected Szeth's calves to the inside of his trouser legs:

This image shows all of the successful connections that I have made thus far:

Day 66:
The first day that I worked on Szeth I began by connecting his shoes to his feet.
That's all that I did last week. The coming week should be very heavily Juggler-oriented, as I'm trying to create all-new textures for her in the hopes of submitting her for consideration in the Academy of Art's Spring Show. I think she'd be a fine fit for the Hard-Surface Model category.