Summer Directed Study - Week 8

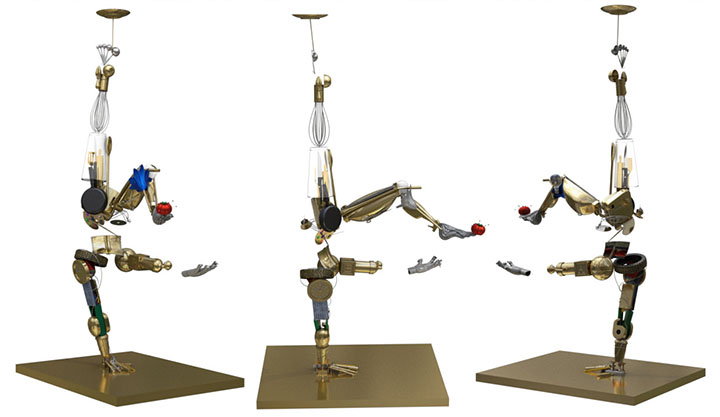
Directed Study - Session 15

My Group Directed Study session on Tuesday was my last class for the summer semester. In fact, I'm posting this blog entry early because I'm going on vacation soon. (Yay!) I feel that it will be necessary to continue working a bit during my vacation, but I don't believe that it will be necessary to concern myself with keeping up these blog entries during that time, as most of the work that I will be doing won't be visually impressive anyway. I plan to use the time to bake normal maps and UV anything that I previously neglected, etc. I won't be doing any ZBrush work because I'll be using my laptop, which doesn't handle ZBrush nearly as well as my desktop PC. So everything I do will be in either Maya, Modo, or Photoshop.

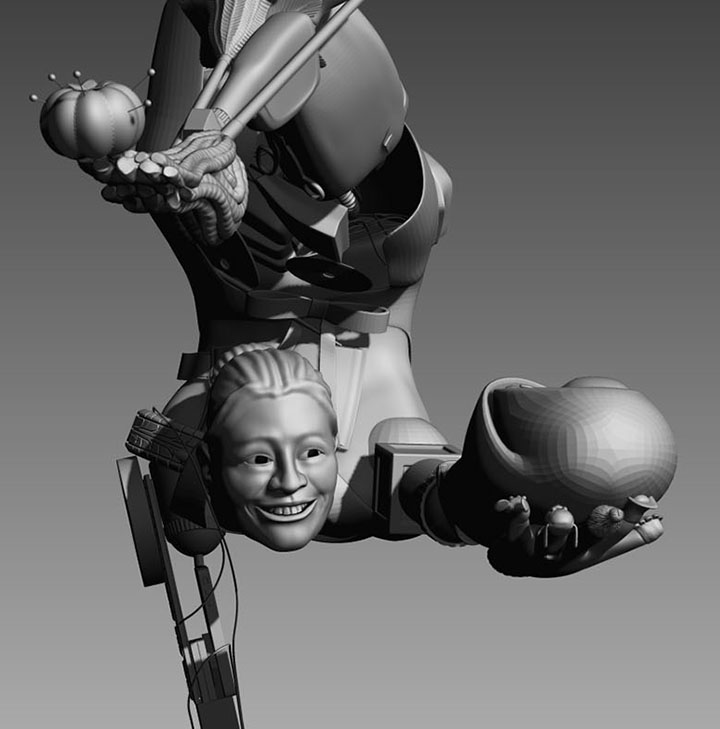
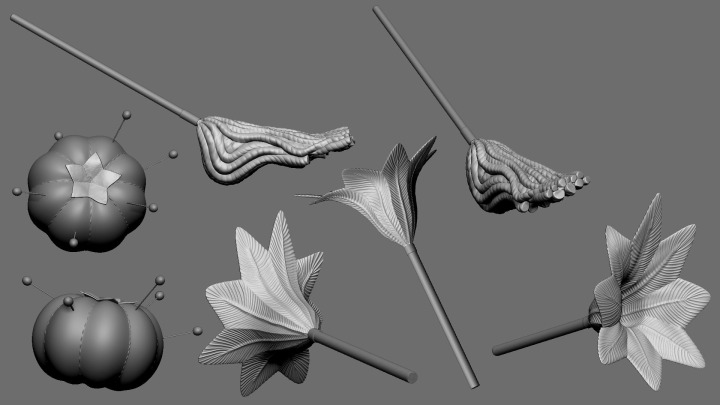
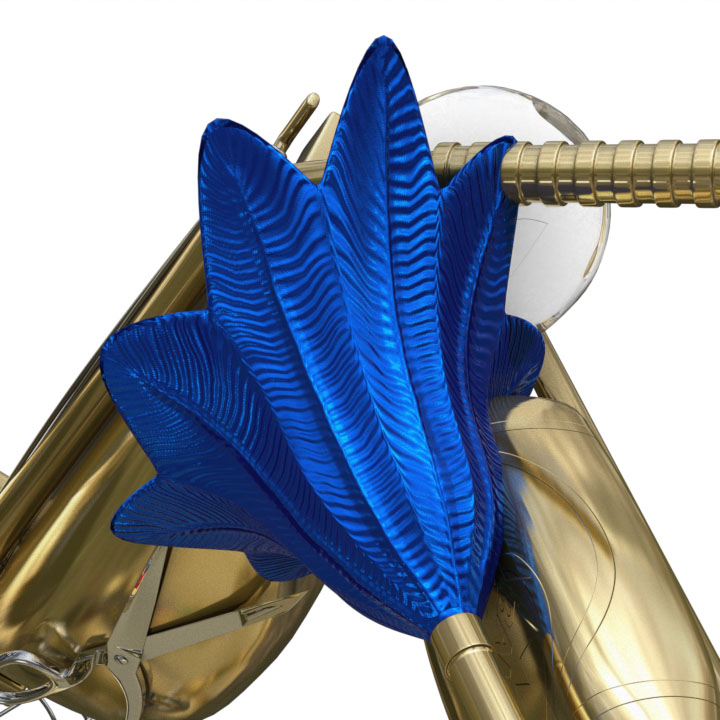
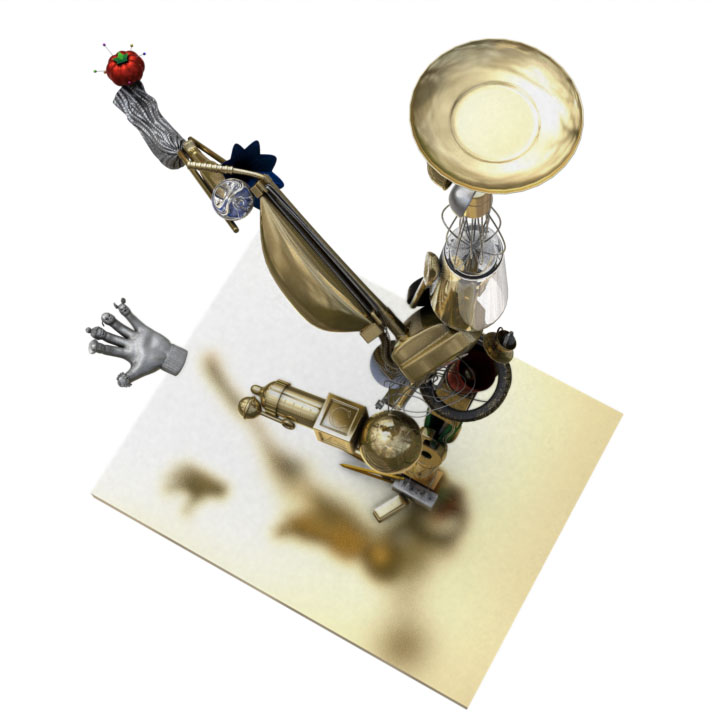
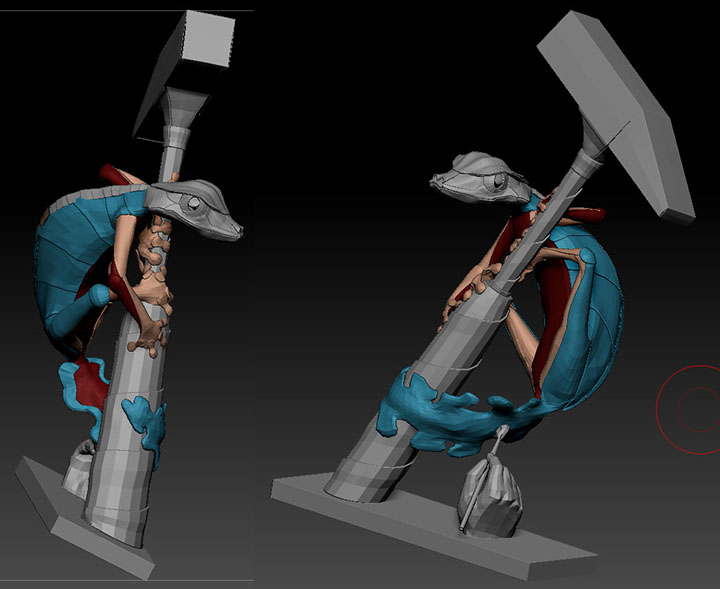
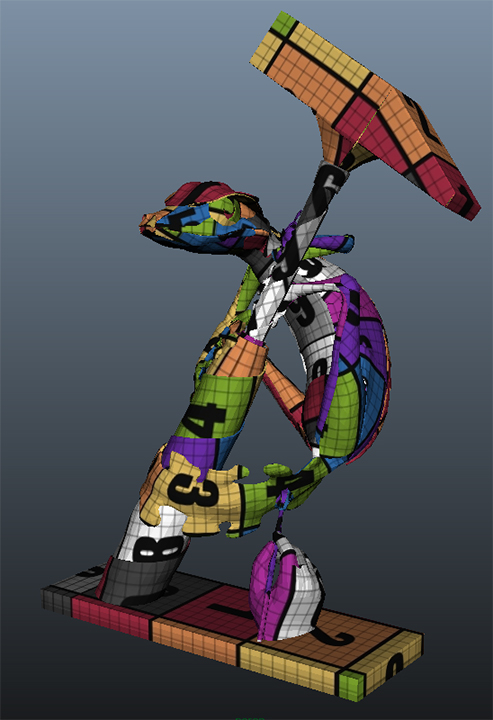
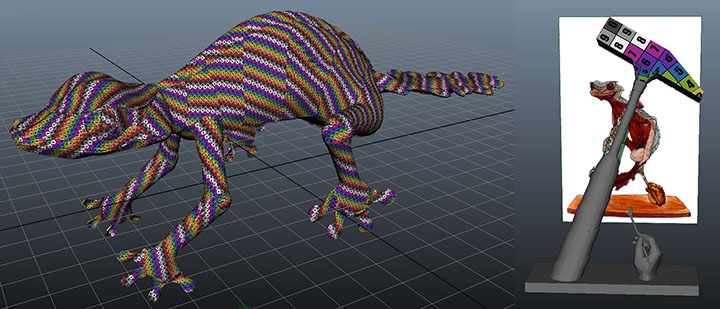
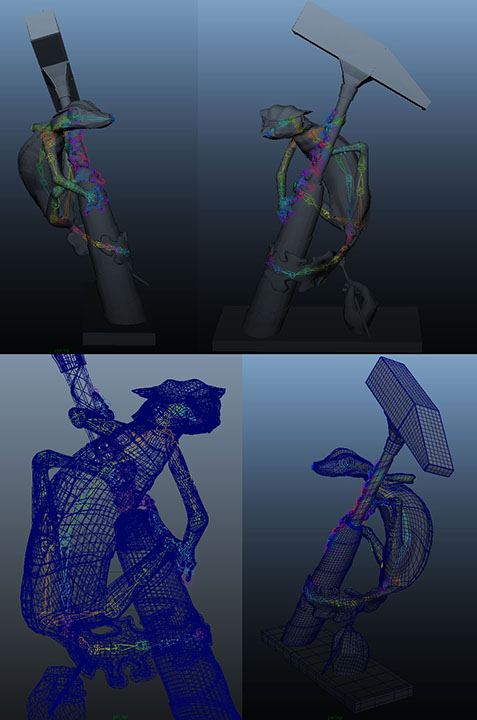
Before I get to my vacation, however, I do have a bit of progress to show on the sculpting of my Juggler:

You may have noticed that these two collages show two different babies. The first image is the first bit of work that I did that I brought into my GDS class on Tuesday. I was pretty happy with it, but not entirely confident that it was truly baby-ish. I hadn't done any real work on the baby's hand or elbow yet in that set of images: just the face. The comments that I got on it seemed to concur that it wasn't really quite there yet. My instructor pointed out that some features were too defined for a baby. One of my classmates suggested widening the forehead. I think there was a consensus that it needed to be a bit more pudgy all around.

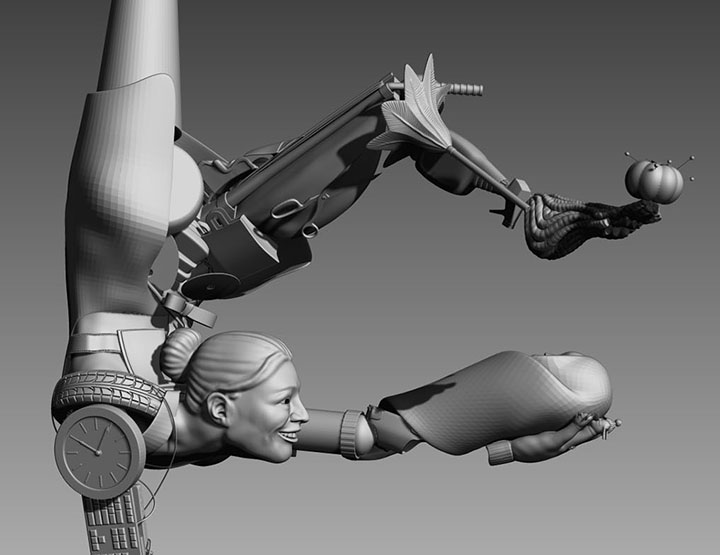
So, I went back to the drawing board and came up with the baby in collage #2. The baby in this image has been changed quite a bit from the first one: the hand is refined, the elbow is refined and resized, the blanket has been refined quite a bit more than in the first image (though it still has quite a bit of work still in need of doing on it), and, of course, the face has been changed. I started out by softening all of the features, which changed the expression and made it much more vague. I think that it looks a bit more authentically "baby", but I'm not sure that I like it any better than the first baby. I think that this rendition of the baby lost the character that the first incarnation possessed. The first one seems to me to be something like a caricature of a baby, while the second one is a bit closer to looking like the real thing. It's possible that I like the caricature better. I like the personality that first baby had: something was certainly making him happy. I'm really not sure what the new one's feeling. I wanted it to retain the happiness of the first in the second, but I really couldn't get that to work while softening the features enough to look more like the images of the newborns that I was able to find for reference online. I think that my main problem is that newborns don't actually have much expression in the real world. The images that I was copying from were either of babies asleep or in the middle of half of a yawn or just making shapes with their mouths. There's no real expression to their faces yet at that age, and I don't really want to look at older references since my baby is still in swaddling and I intend to keep it that way.

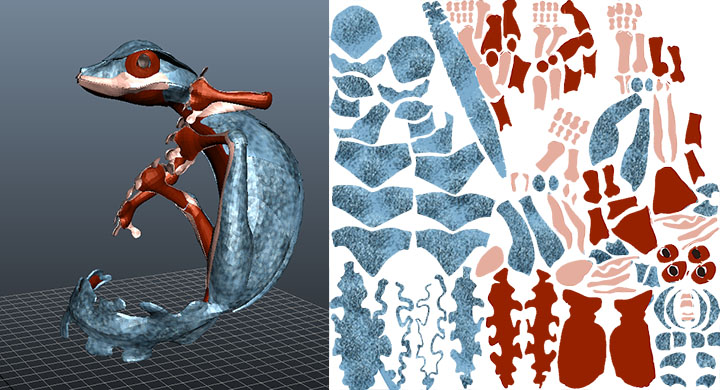
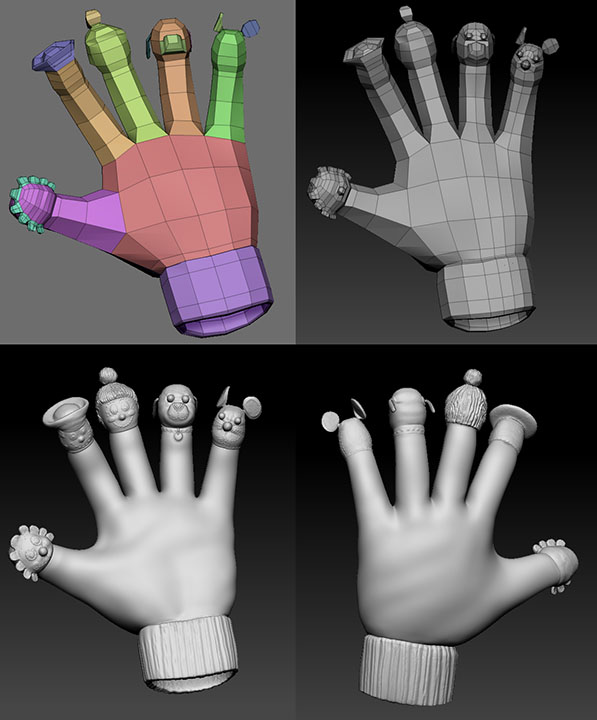
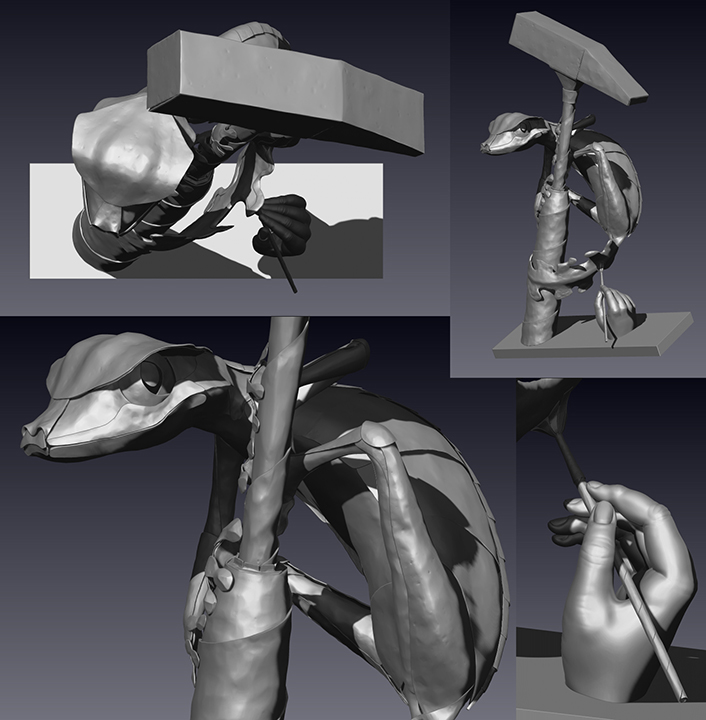
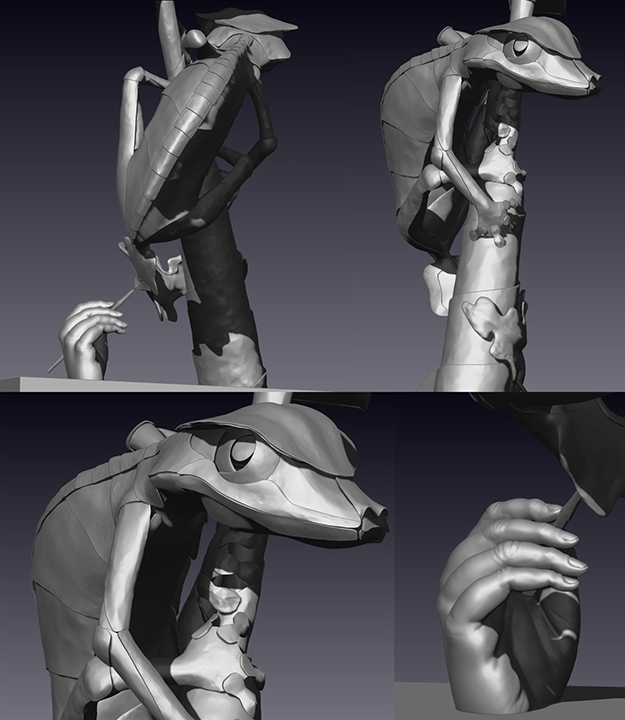
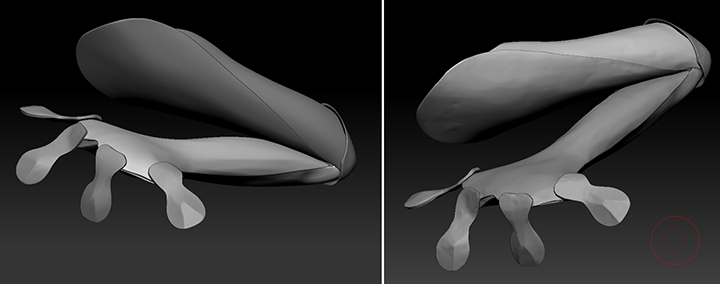
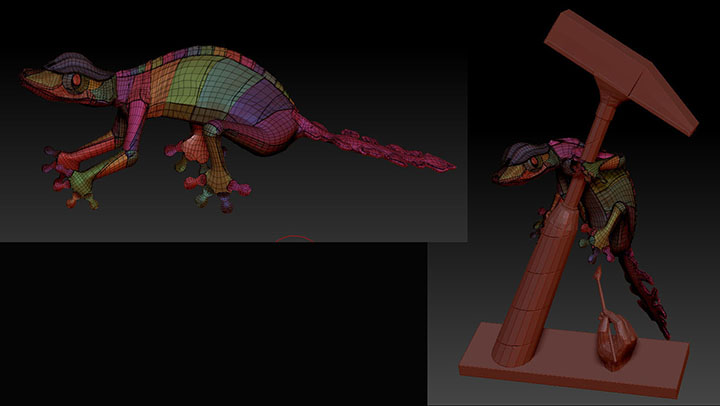
I'm thinking that my next step is to find a middle ground. I'm going to try tweaking the new baby face to give it a happier and sillier expression. If it ends up getting defined again while making the changes then I may just say "so be it" and run with it. It's a sculpture. It's not supposed to be a real baby. It's a sculpture of a baby. As long as it comes across as "baby" I think I'm fine. It's not like when I was sculpting the Gecko's hand, which was supposed to be a metal object cast from the artist's actual hand. There's no way to cast a mold of a baby. It would have to be someone's interpretation, and since I want the sculpture to have a bit of a sense of whimsy to it, I think that a baby caricature will be just fine.

I'm going to try to keep moving forward rather than just reverting back to the first baby face that I created. There are good things about the second head: it just needs more expression. I'll work with it more tomorrow before I leave for my vacation and hopefully leave it at a point that I'm happier with than I am now.

If all goes as planned, I should have a lot of good work to show in three or four weeks when I get back to posting after my vacation. I can't wait to show my progress then.

Summer Directed Study - Week 7

Directed Study - Session 14

I have sculpted my Juggler's face. I'm not completely finished with the head yet (some of the features like the hair and the neck muscles and collar bones I've just roughly blocked in for the time being), but I've got a good start. I don't really have a whole lot of information to share about my process on this: I just started sculpting, had kind of a slow start, then tweaked it and tweaked it and refined it and tweaked it some more, and this is what I came up with:

I began my sculpting with just the one subtool of the head and body piece showing, and when I turned on the visibility of the rest of the pieces I realized that the head was just a bit too small, so I turned the resolution down to the lowest level, masked off the body, softened the mask edge, and scaled the head up. I think that one little change helped it a lot. I think that it fits much more proportionally with the rest of the sculpture now:

I'm quite happy with how it's turning out. I'm going to leave the head as is for the moment, with certain elements still in need of detailing, and try to get the model of the baby that the Juggler is holding to at least this level of refinement by Tuesday when I have my last GDS class of the summer. (Actually, I hope to get a lot further than that, but we'll see how it goes: everything always seems to take me longer than I want it to.) Wish me luck!

Summer Directed Study - Weeks 6 + 1/2

I'm getting this update posted quite late this week, so I'm including three Directed Study sessions in this report rather than the usual two.

Directed Study - Session 11

My Gecko is now COMPLETELY finished as far as my thesis work on him is concerned. I would still like to see him textured one of these days, but, as that's not part of my thesis, that will not happen for awhile.

I am quite happy with him. :)

I spent quite a bit of time baking the normal maps for his multitude of pieces, which combined thus:

 I bumped up the contrast just a bit for these images so that they were more visible, but this is the gist of the surface detail on the Gecko (top) and the base (bottom).

Then when I imported all of the maps and OBJs into Modo I decided to do some quick tests to see if I could texture him satisfactorily solely with Modo shaders. I assigned the various pieces of him to material groups that would coincide with the divisions between the Gecko's final colors and did a test render with metallic materials of my own creation:

It looks ok, but I'm not entirely thrilled with it. I wanted a lot more tonal variation in the colors of the metal: a kind of mottled effect. So I did some extremely quick painting over the UV snapshot and threw the resulting map on a shader in Maya just to see how the textures would sit on the panels and if you could see seams or not, and this is what I got:

That mottling on the blue is exactly the kind of coloring that I want. The material and rendering are obviously not at all accurate in this image, but, comparing it to the image with the flat colors that I rendered out of Modo, this is more like what I had in mind when I drew my character design.

Even the short amount of time that I spent setting these texture tests up, however, reminded me that I did not have enough time to spare for perfecting this. Thus, I resorted to focusing on getting the flat shaded and wireframe versions of the Gecko to look satisfactory. I adjusted materials to get a surface that I liked, made wireframe texture guides out of the UV snapshots that I'd taken of the Gecko and his base, which I applied as both diffuse and specular color in the Gecko's "wireframe" material group, set up some three point lighting, animated a three-sixty turn, and viola! I produced both this turntable and the first images that you saw above:

Then I moved on to my Juggler model.

Directed Study - Sessions 12 & 13

 As with Sessions 9 and 10, there's really no clear division between my thesis progress between sessions 12 and 13, so I'm just going to combine them together here.

The first thing that I did after completing my Gecko was to create a few more normal maps for surface details on my Juggler. I made a map for embossed measurements on the surface of the baby bottle:

I made a map for amounts on the measuring spoons:

I made a map to denote "number 2" on the pencil:

And, I made a "mud-splatter" map for the tire. Upon closer inspection of this render, I think that the splatters that I meant to be embossed on the surface are actually receding into it for some reason. I'll have to fix that:

Then I started ZBrush sculpting.

I began with the mop, turning it into an actual mop rather than a vaguely foot-like shape. Once I began sculpting, I realized that while the topology that I had originally created would flow well for a general foot-shaped object, it didn't work well for something that had to be divided into sections as clearly as the mop strings did. The geometry was twisting/pulling oddly along a couple of the sides. The only way to fix it was to retopologize the thing. So, I retopologized it in ZBrush and then re-projected the detail that I'd sculpted back onto it. Then I moved on to sculpting the pin cushion, the finger puppet glove, and the feather duster:

The sculpting on the pin cushion was pretty simple. I gave the body of it a few stitches and softened the top a bit so that it might look a bit like felt. The feather duster was similarly simple: I just drew a bunch of raised lines and then pinched them where necessary to give it a feathery type of texture.

The glove, on the other hand, has proven to be quite difficult. It was simple enough to sculpt, if somewhat time-consuming. When it came time to bake out the normal map though... Let's just say it didn't go well. I had to keep increasing and decreasing the envelope to get various bits and pieces of it. I made a stitch-pattern normal map in Photoshop and xNormal which I overlayed onto the normal maps that I had been able to composite together from bits and pieces of the different maps that I'd rendered, and then realized once I got it on the model that some of the glove's UVs had stretched in the sculpting, as you may be able to see in the image below (it's most noticeable near the "necks" of the characters in this image: in the stitching just below the heads of all of the characters but the dog):

Because of the stretching I was forced to relax and unfold some of the UVs again, which moved them and made all of the normal map work that I'd already done irrelevant. I ended up altering the geometry of the base mesh a bit so that it would hold some of the sculpted elements better, fixing the UVs, projecting the sculpted detail onto the new mesh,  and resculpting about 80% of the detail anyway because every finger had areas that had been pinched in the original sculpting that didn't project well and required multi-level smoothing which then erased sculpted details. Many of the details also projected a little less sharply than I desired, so I had to go through and refine all of them, even where I hadn't had to smooth things... Suffice it to say that it was tedious and dull and repetitive and I haven't attemptted to bake a new normal map for that piece again since I (hopefully) fixed the problems.

I managed to bake satisfactory normal maps for the mop and the feather duster and bring them into Modo; then I rendered just a couple of images of how far the Modo version of the model has come up to this point:

Now I intend to move on to sculpting the face of the Juggler. I'll post the results of my efforts in a few days.

Summer Directed Study - Week 5

Directed Study - Sessions 9 & 10

This week I completed the first half of a task by the time of my first directed study session and the second half of the task by my second session at the end of the week, so I'm combining my updates into one single progress report rather than my usual two.

My Gecko is now completely sculpted:

I sculpted the Gecko's metal texture using the revised method that I described in last week's blog entry: a combination of ZBrush's Blob brush set on "spray" followed by a whole lot of hPolish. I used this method on all 113 pieces of the Gecko's body, the hammer, and the paintbrush and brought him into class for evaluation on Friday. I was told that he looked really good, and advised to make sure that when I got around to sculpting the detail of the hand that I didn't let its presence distract from the Gecko by being either to well or too poorly done.

 I sculpted the hand earlier today, and I think that I managed to find a non-distracting balance to its detail. It's presented with all of the major wrinkles, but I left off any finer surface detail. I'm pretty happy with how it came out and hope that it meets with my instructor's approval when I show it in class on Tuesday. Now comes a whole lot of exporting and importing and normal map baking, between which mundane tasks I shall continue to make progress on my Juggler, which I'm working on normal maps and ZBrush sculpting for at present.

Summer Directed Study - Week 4

Directed Study - Session 7

I finished posing my Gecko. The following screen shots are actually from just before I finished the posing fully. The grey pieces of the ridge down the Gecko's back and the "bristles" of the paintbrush are still not fixed in these images, but they were fixed within an hour or two of the file from which I took these screen shots being saved. The colors were basically a system of organization that I was using to denote my posing progress. The code was really quite simple: if the panel was colored, it had been properly posed. If it wasn't colored, it either needed no adjustment or was still waiting to be adjusted.

The ridge and the bristles were fixed by the time that I made this turntable as a placeholder image in my demo reel for one of the classes that I'm currently taking: 

  As I explained in my previous blog post, I posed the Gecko with a series of smooth-bound rigs in Maya, but I fixed any areas where the resultant geometry  panels were penetrating each other using the move brush in ZBrush. It was the latter step that I completed this week.

Directed Study - Session 8

I lost all of my Gecko's UVs.

Luckily, this wasn't as big of a disaster as it sounds: I was able to recover them. It was a tedious, time consuming process to do so, but not nearly as time consuming as having to re-UV everything. The Gecko and his base together have 115 pieces. It would have taken me a couple of days worth of work to build all of those UVs over again. Instead, it only took a couple of hours to transfer the UVs piece by piece from the last version of the Gecko that was not-quite-fully-posed in Maya to the fully posed OBJs that I pulled out of ZBRush.

I learned something new about ZBrush this week: It deletes your UVs when you merge and split subtools. I was not aware of this. I've combined and separated meshes without any ill effects in Maya so often that I never even suspected it could be a problem in ZBrush. Apparently, it's a big problem - assuming, of course, that you care about UVs.

I do care. I care very much.

As I stated, however, I was at least able to recover them thanks to a script that my roommate has for Maya. I will be obtaining this script from her for future use very shortly. In the meantime, she let me use her computer to transfer all of the UVs back onto my posed Gecko. Then I had to go through all of the UVs and unfold them to account for any stretching that the pieces endured during the posing process. This is the step that I had been intending to complete when I first discovered that the UVs were missing: it wasn't an extra step to go through because they were lost. I was actually surprised by how long this step took. Relaxing and unfolding UVs sounds so easy, but I guess doing anything 230 times (115 objects x2 UV shells each) won't be the quickest of propositions. I also spent a good chunk of time arranging the UV shells in the UV space so that when I eventually get around to texturing the Gecko (which is not part of my thesis, but is still something that I hope to do eventually) I will easily be able to tell from the UV snapshot which pieces are which:

I then spent some time exporting the UVed pieces of the Gecko and base in very small groups as OBJs so that I can have multiple subtools in ZBrush without threatening my UVs. I can work on even overlapping panels on the same subtool individually using polygroups, but I still don't want too many panels on the same subtool, so I had to create quite a large number of OBJs.

Basically, most of the work that I got done this week was tedious and time consuming technical tasks that I don't have a whole lot of visual progress to show for, but which needed to be done, regardless.

I did begin sculpting finally, but just barely. Can you see it in the image below?

I didn't think so.

How about now?

These are two of the three sculpting techniques that I tried. The left one was completed using only the hPolish brush in ZBrush. The right one was completed with a combination of hPolish and Blob set to scatter. I like the right one. The left image is the progress that I showed in my GDS class. Then my GDS instructor mentioned how the hammer used in shaping sheet metal would create dings and rough up the surface of the metal significantly. He suggested trying to rough the surface up in Maya by selecting random pixels to move to break up the smooth surfaces. He suggested that it might be faster than ZBrush sculpting and the eventual normal map creation to show off the ZBrush sculpting in another rendering program and all of that. He may be right, but I really wasn't happy at all with my experiment with the method that he suggested. So I settled on ZBrush. His suggestions did make me realize, however, that even with the polishing the ZBrush version was a little too perfect still. It needed to be a little more banged up. That's when I brought in the Blob brush. It creates some nice random dings in the surface. I polish some of them back down, and others I leave as they are. I don't spend too much time on any one section: it's supposed to be random and imperfect. I think that this method of working is serving me well, and will give me the look that I want for the piece overall. Now I just need to roll with it and get to work.

Summer Directed Study - Week 3

Directed Study - Session 5

My Gecko's UVs are done. I still have some UVs to create for the base, but the creature itself is done:

 And these are all of the pieces:

It was a lot of work.

Altogether the Gecko model is made up of 98 individual pieces. Luckily, I didn't have to UV each and every one of those pieces because the Gecko was still in a neutral, symmetrical pose; I was therefore able to UV all of the pieces along the center and on one side, then duplicate the UVed pieces that repeat from one side to the other. I think that I probably ended up UVing about three-quarters of the Gecko because so many of its pieces are along the center line, but not having to UV that 1/4 was worth it, especially since my Maya likes to crash when the UV texture editor is open for some reason. UVing is therefore always a tedious, nerve-wracking process for me. I save often lest the program crashes and I lose all of the work that I just did.

  I learned a couple of things about my Gecko while UVing:

First and foremost: he was going to deform a lot more than I had anticipated during posing. UVing allowed me to study his structure again, which I hadn't really looked at since I built him at the beginning of the year. I built him with lots of bent joints intentionally so that things wouldn't have to change position too much when I posed him. This was a good move, I believe, but still not as effective as I thought it might be. His neck had to bend so that he's looking forward rather than at the sky. One of his arms had to pull back significantly at the shoulder. His hands and feet were built with palms facing each other and soles facing each other: they all needed to rotate ninety degrees. There were a lot of little things like that. I had been planning to rig the Gecko in Maya by parenting his pieces to joints to pose him because I didn't think that he'd need to deform much, but, clearly, I was wrong. I decided to try ZBrush's Transpose Master instead of Maya for posing.

The second thing that I discovered was that I hated the way that I'd built the Gecko's tail. It was messy. The geometry wasn't performing the way that I wanted it to. It had lost the sharp edges that it was supposed to have to denote the cut ends of the sheet metal. I just wasn't happy with it. So, I deleted half of the tail's geometry and rebuilt it in Maya. It took quite a while because the only way that I could see to do it involved a lot of pixel-pushing, but it was worth it. I'm much happier with it now.

After completing the Gecko's UVs and the rebuild of the tail, I decided to take a break from UVing the base and put the Gecko into ZBrush to test his polygroups and begin to pose him. I figured that since the base doesn't change at all in the posing, I can UV it anytime before I actually begin sculpting. This is as far as I got:

I fixed the interpenetrating pieces in the Gecko's face again before I started posing (which is the work that I had somehow lost around the time of my last blog entry), because I was certain that it would be easier to do with symmetry still in play. I didn't expect his face to deform too much in the posing, so I thought that I would save myself some work by fixing these details before sculpting. I didn't bother too much with the rest of the body because I knew it would deform enough in posing that I'd just have to fix it again later.

Directed Study - Session 6

It was a good thing that I didn't get very far into my ZBRush posing, because I learned a much better way to pose my Gecko in my next GDS class: a skeleton joint rig with a smooth bind to his "skin" (metal plates).

I kept the pieces of the rig separate so that I would have better control over the points where the limbs met the main body. As such, I had one rig that served as the spine smooth-bound to all of the pieces of the Gecko's head, neck, back, abdomen, and tail. I had another rig smooth-bound to each of his arms, and another smooth-bound to each of his legs. (Five rigs in total.) I had to amend the rigs and start the posing over a number of times as I came to better understand how the rigs deformed, but the image above was the final set-up that I ended up using. Then it was just a matter of matching him up to the image planes showing his character design as best I could. This was the result:

I made one change from the Gecko's original character design: I wrapped his tail around the front of the hammer rather than the back. The tail seemed to follow the flow of the spine better that way, as well as providing some extra ballast, rather than having all of his weight on the far side of the hammer. 

Next, I'll fix the places where the plates are cutting into each other using the move brush in ZBrush. Then I'll begin sculpting.