Directed Study - Session 5
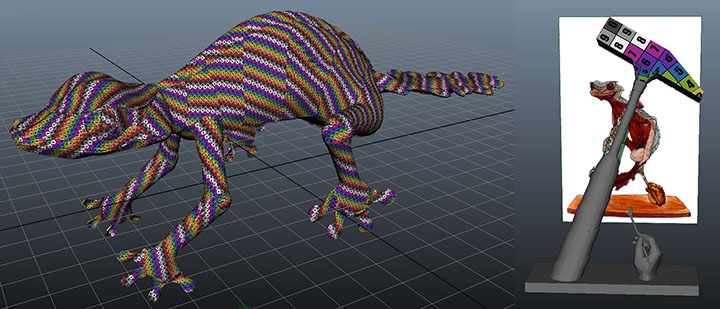
My Gecko's UVs are done. I still have some UVs to create for the base, but the creature itself is done:
And these are all of the pieces:
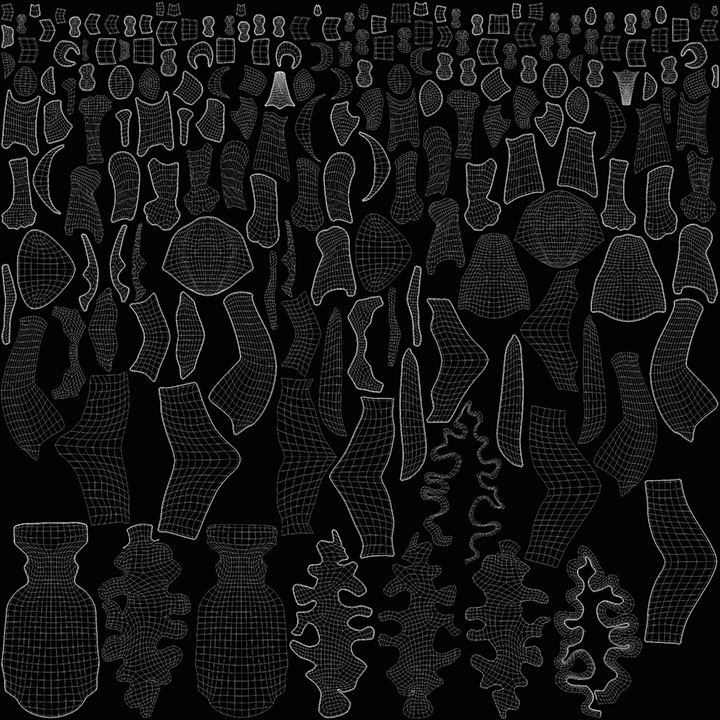
It was a lot of work.
Altogether the Gecko model is made up of 98 individual pieces. Luckily, I didn't have to UV each and every one of those pieces because the Gecko was still in a neutral, symmetrical pose; I was therefore able to UV all of the pieces along the center and on one side, then duplicate the UVed pieces that repeat from one side to the other. I think that I probably ended up UVing about three-quarters of the Gecko because so many of its pieces are along the center line, but not having to UV that 1/4 was worth it, especially since my Maya likes to crash when the UV texture editor is open for some reason. UVing is therefore always a tedious, nerve-wracking process for me. I save often lest the program crashes and I lose all of the work that I just did.
I learned a couple of things about my Gecko while UVing:
First and foremost: he was going to deform a lot more than I had anticipated during posing. UVing allowed me to study his structure again, which I hadn't really looked at since I built him at the beginning of the year. I built him with lots of bent joints intentionally so that things wouldn't have to change position too much when I posed him. This was a good move, I believe, but still not as effective as I thought it might be. His neck had to bend so that he's looking forward rather than at the sky. One of his arms had to pull back significantly at the shoulder. His hands and feet were built with palms facing each other and soles facing each other: they all needed to rotate ninety degrees. There were a lot of little things like that. I had been planning to rig the Gecko in Maya by parenting his pieces to joints to pose him because I didn't think that he'd need to deform much, but, clearly, I was wrong. I decided to try ZBrush's Transpose Master instead of Maya for posing.
The second thing that I discovered was that I hated the way that I'd built the Gecko's tail. It was messy. The geometry wasn't performing the way that I wanted it to. It had lost the sharp edges that it was supposed to have to denote the cut ends of the sheet metal. I just wasn't happy with it. So, I deleted half of the tail's geometry and rebuilt it in Maya. It took quite a while because the only way that I could see to do it involved a lot of pixel-pushing, but it was worth it. I'm much happier with it now.

After completing the Gecko's UVs and the rebuild of the tail, I decided to take a break from UVing the base and put the Gecko into ZBrush to test his polygroups and begin to pose him. I figured that since the base doesn't change at all in the posing, I can UV it anytime before I actually begin sculpting. This is as far as I got:
I fixed the interpenetrating pieces in the Gecko's face again before I started posing (which is the work that I had somehow lost around the time of my last blog entry), because I was certain that it would be easier to do with symmetry still in play. I didn't expect his face to deform too much in the posing, so I thought that I would save myself some work by fixing these details before sculpting. I didn't bother too much with the rest of the body because I knew it would deform enough in posing that I'd just have to fix it again later.
Directed Study - Session 6
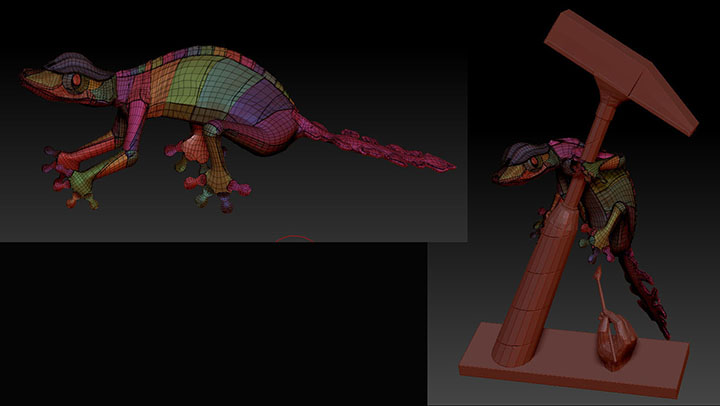
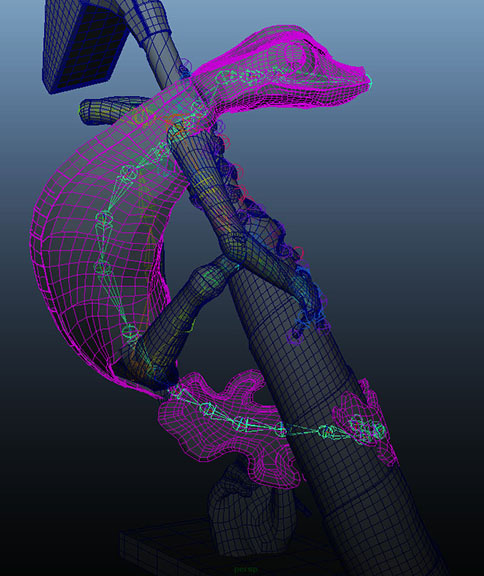
It was a good thing that I didn't get very far into my ZBRush posing, because I learned a much better way to pose my Gecko in my next GDS class: a skeleton joint rig with a smooth bind to his "skin" (metal plates).
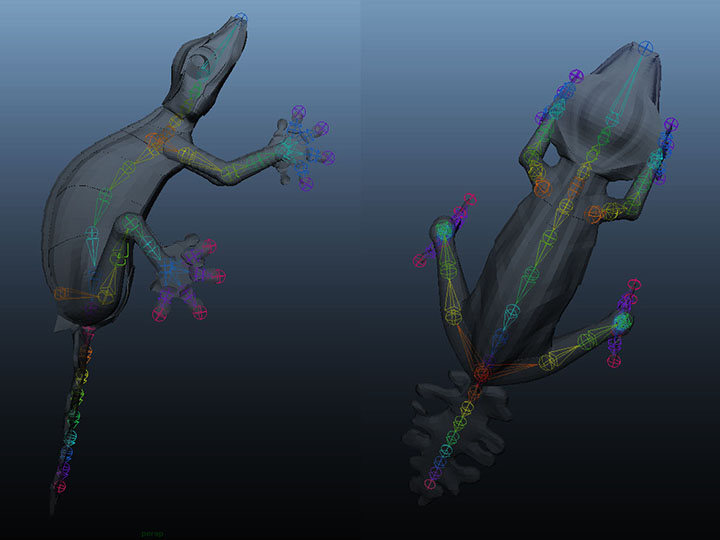
I kept the pieces of the rig separate so that I would have better control over the points where the limbs met the main body. As such, I had one rig that served as the spine smooth-bound to all of the pieces of the Gecko's head, neck, back, abdomen, and tail. I had another rig smooth-bound to each of his arms, and another smooth-bound to each of his legs. (Five rigs in total.) I had to amend the rigs and start the posing over a number of times as I came to better understand how the rigs deformed, but the image above was the final set-up that I ended up using. Then it was just a matter of matching him up to the image planes showing his character design as best I could. This was the result:
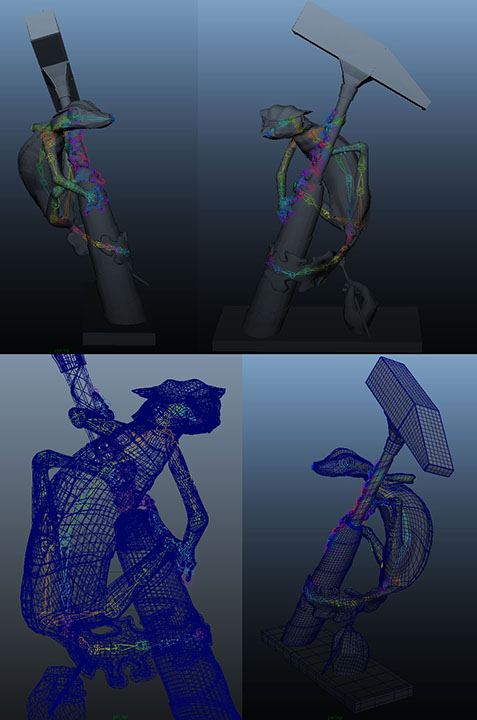
I made one change from the Gecko's original character design: I wrapped his tail around the front of the hammer rather than the back. The tail seemed to follow the flow of the spine better that way, as well as providing some extra ballast, rather than having all of his weight on the far side of the hammer.
Next, I'll fix the places where the plates are cutting into each other using the move brush in ZBrush. Then I'll begin sculpting.