Daily Art: Texturing in Modo

January 21st:

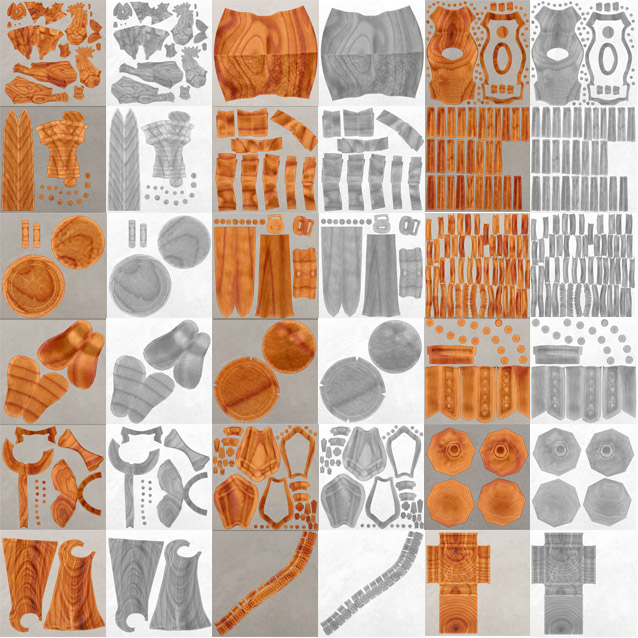
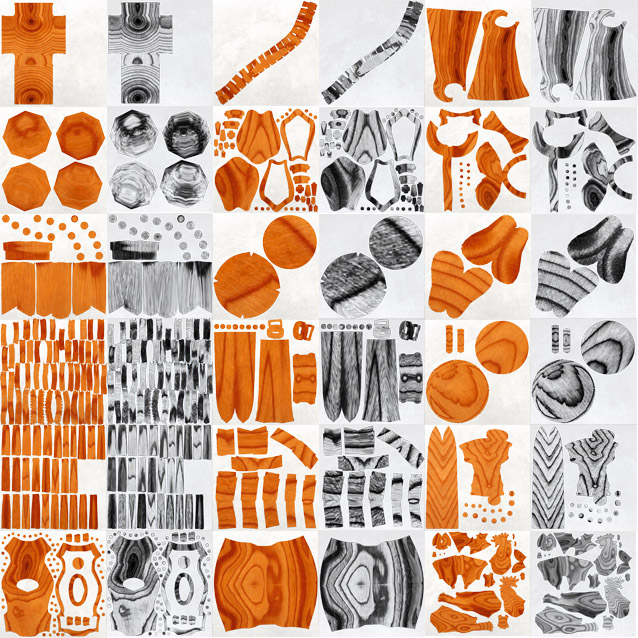
Okay, today's work can't be summed up in one image, so I'm posting three. The image above is a collage of all of the texture maps that I created today. The color maps are modifications of the diffuse color maps that I created yesterday. I did a little expert Photoshopping using my displacement maps on top of the color maps to create darker areas of grime in the crevices of the sculpture. The black and white images are specular maps that I created from a similar combination of the original color maps and the displacement maps, since the projections will reflect more light than the grimy crevices.

The next image is a Modo render of the posed, textured sculpture:
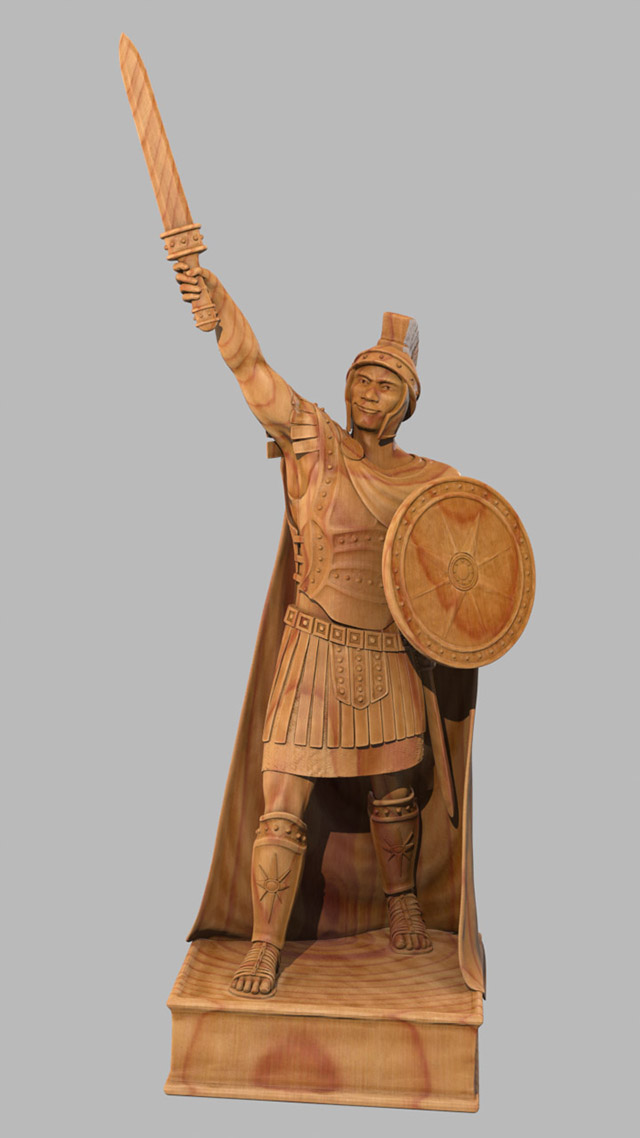
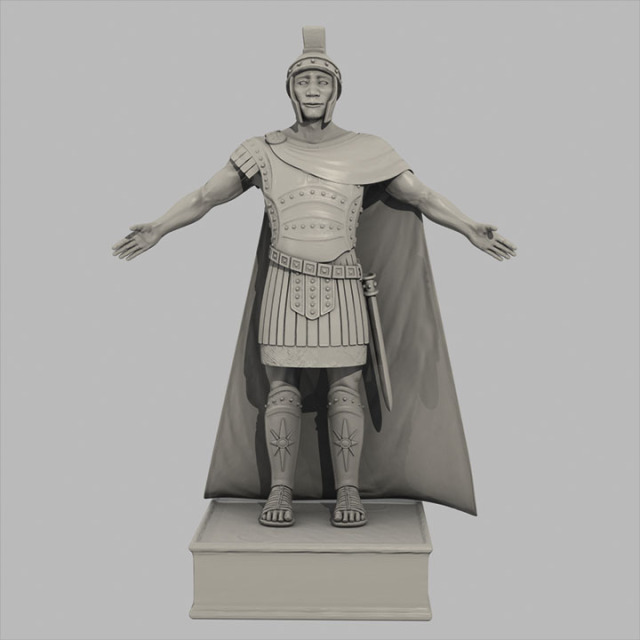
I'm showing this image next rather than the A-Frame because this is the position in which I textured the Warrior. A-Frame may be the default position for a model, but this is the default position for a sculpture. This is what my imaginary sculptor sculpted; it therefore follows that the woodgrain would contour to this pose rather than an A-Frame one.

Below is a Modo render of the A-Frame textured model:
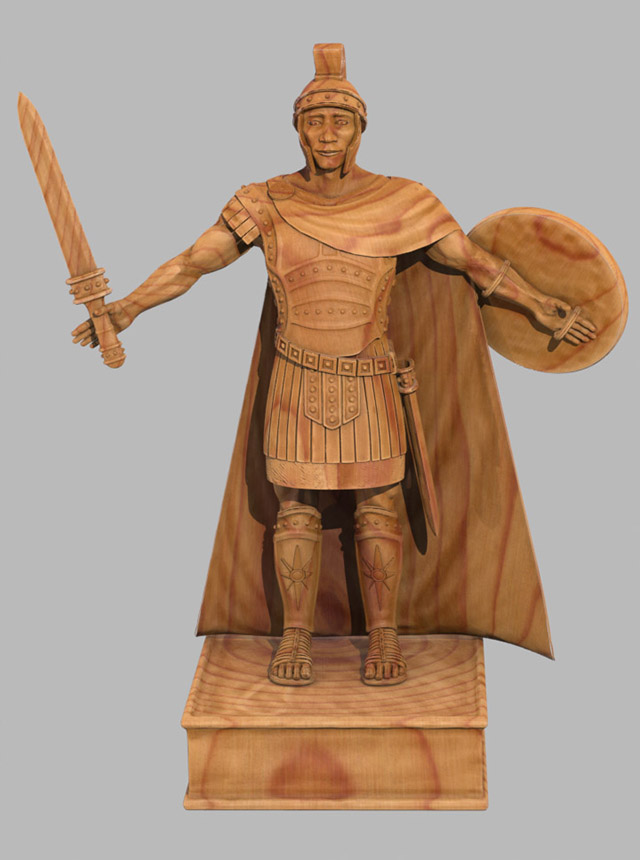
I must say that I am quite pleased with how he turned out.

The next few days will be quite a bit of rendering.
Daily Art: Maps, Maps, and More Maps!

January 20th:

Today I texture painted my Warrior model in Mudbox. Then I added some grime in Photoshop and tweaked the images to make bump maps to accompany the color. There are far too many maps here for one character, but this is apparently how I laid out my UVs before I baked out my displacement and normal maps, so I'm just going with it because I really don't want to bake all of those maps again. I did, at least, resize the maps in proportion to one another.

Daily Art: Whipping My Demo Reel Into Shape: Day 1

January 19th:

Back in late November I went to an animation expo and got some incredibly useful feedback on my demo reel. I won't bore you with all of it, but one of the key points was to show my characters in A-Frame as well as posed positions. This sounds like a simple task to accomplish, but when you're not a rigger and you pose some of your more complicated models using ZBrush's T-Pose tool (or you use a rig but delete the file with the rigged model after finishing your demo reel because you exported your posed model to another program for rendering and your final product is in that program, unrigged) rendering your model in A-Frame can become much easier said than done. So today I started my "back-track" reel work, returning my warrior to its full, upright and locked position. Next step: finally get around to texturing this guy...

Daily Art: Framed!!!

January 17th:

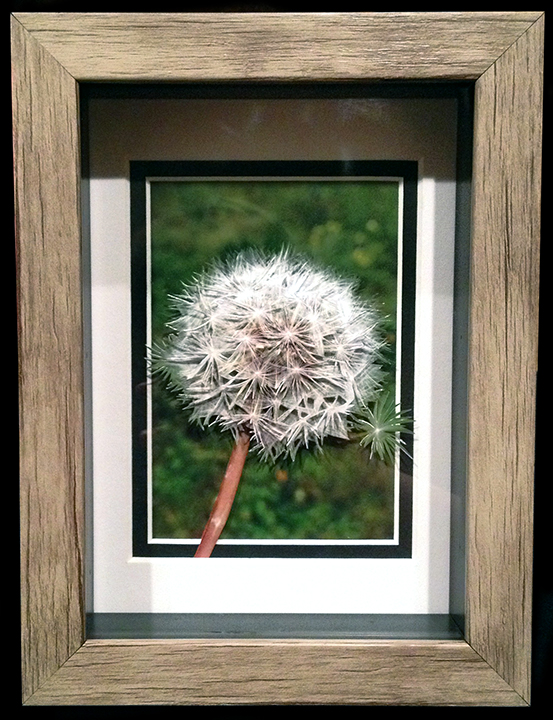
A little creative framing work on one of my 3-dimensionalized photos today. (I wish I'd taken a picture of all of the hard work that I put into the back of the frame-job, because I think it ended up looking quite professional...)

Daily Art: My Next Top Model

January 12th:

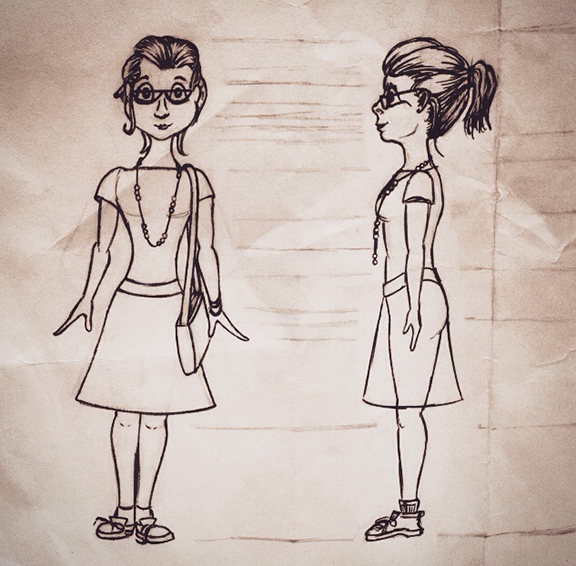
The design for the next 3D model that I would like to make: an artsy grad student that could easily fit into my 3D gallery scene. I envision her style a little like the female character in the Disney short "Paperman", but with a somewhat more relaxed, artsy vibe.

Daily Art: Changes to my Changes

January 10th:

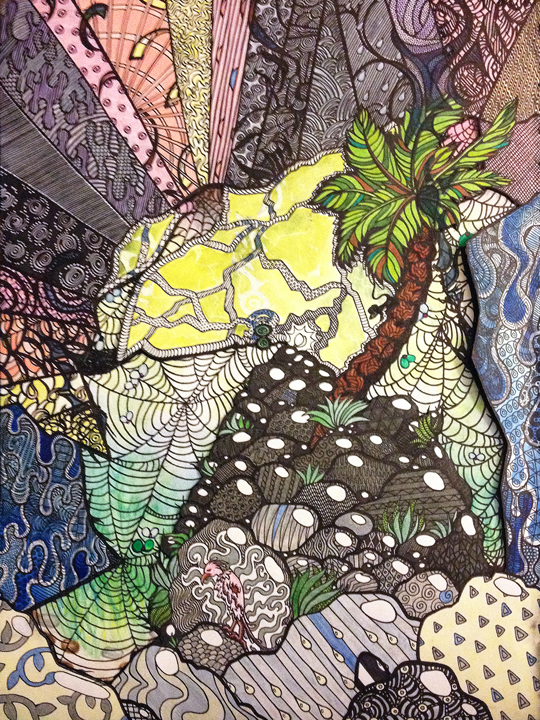
Sorry about the blurry photo; it didn't look this horrible on the screen of my smart phone. Blurriness aside, however, the point of this day's Daily Art was to lighten up some of the colors that I added two days prior; the top half of the image was just too dark. Now it's too light. Oh well: more work for the future!

Daily Art: More Tweaks to Existing Pages

January 9th:

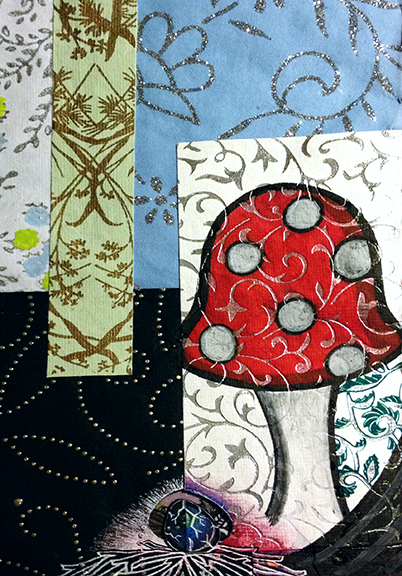
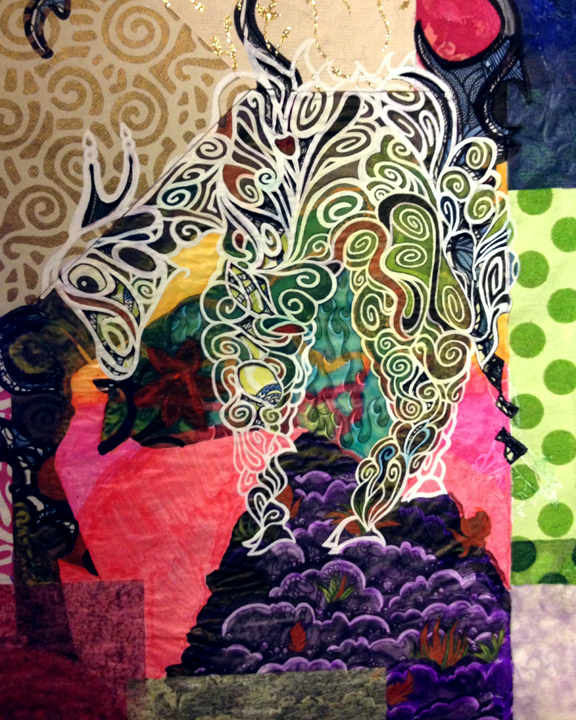
This page, page 20, also existed before this day, but I made a few tweaks to it. Most of my tweaks involved the use of an opaque white marker to either lighten areas or cover up unwanted details that came through from the reverse page and muddled the already busy patterns that existed on this page. I basically just added some extra, much needed, contrast.

Daily Art: I Finally Finished This Page!

January 7th:

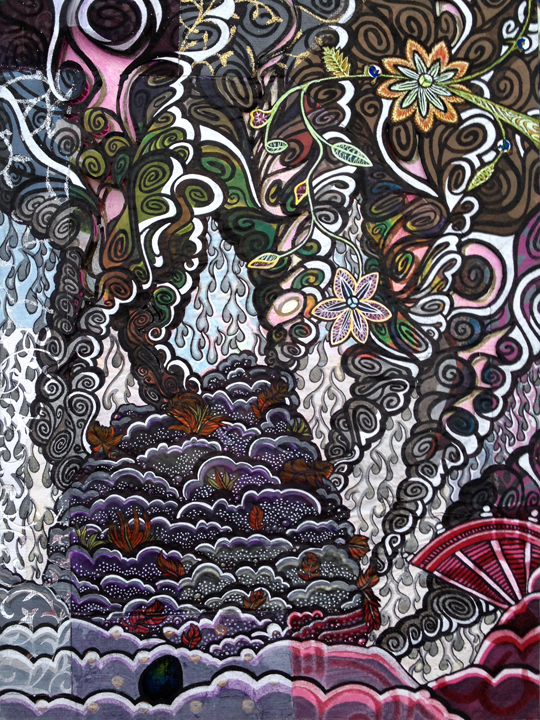
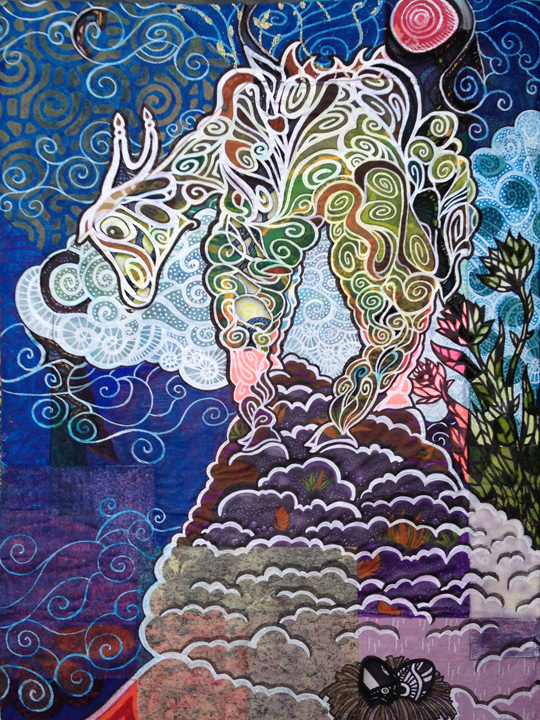
I finally finished this page of my Cut-Up Sketchbook. I've explained about my Cut-Up Sketchbook project before, right? Well, for anyone that doesn't know, my Cut-Up Sketchbook is a book that I bound myself using a combination of white drawing paper and sheets made of collages of handmade papers (for the record I made the collage sheets, not the handmade papers themselves). I have since proceeded to draw and paint in this book, as well as cut out pieces from it. In this book I use an x-acto knife as a drawing tool, letting the pages before and after each page influence the one on which I am currently focusing. I love this project. I think that this is some of the most honest artwork I've ever done: it comes straight from my soul. My greatest hope is that someday I can figure out how to incorporate this style into my more "professional" work, but for now I'll just keep creating my Cut-Up Sketchbook.

Daily Art: Feel like you're playing a game of "Spot the Difference" yet?

January 5th:

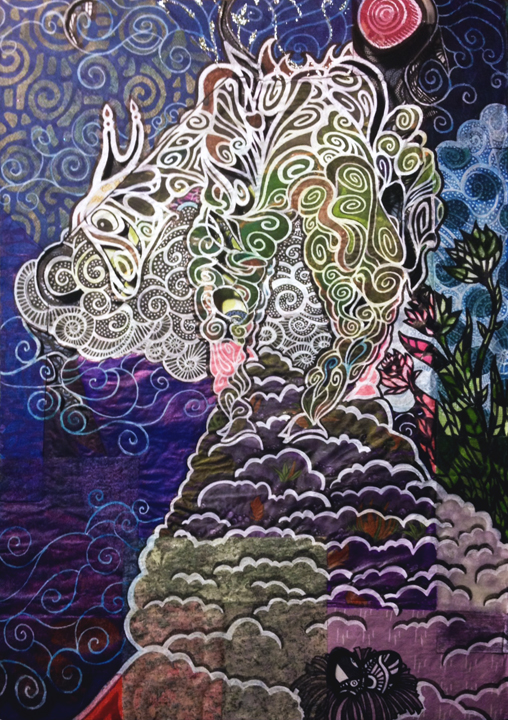
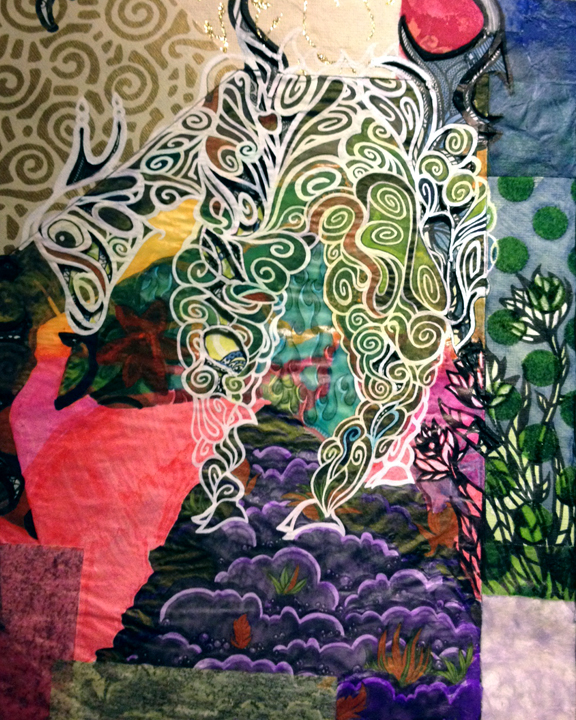
Ok, okay. So I know days 1-5 this year have not seen a whole lot of progress and these first five days of "Daily Art" must feel like a game of "Spot the Difference", but some progress is better than no progress. I wouldn't have had any artistic progress yet this year if I hadn't committed myself to making "Daily Art" again, so I'm going to go ahead and count this agonizingly slow progress as a personal win anyway. :)