March 10th:
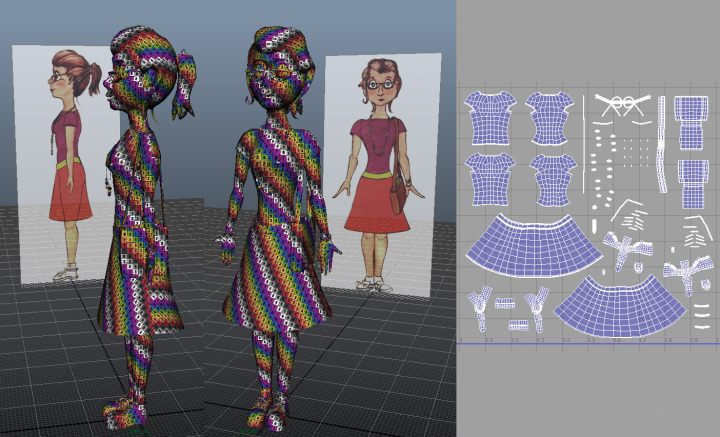
I laid out and organized my girl's UVs into 2 separate maps: one for her body and hair and one for her clothes and accessories.
March 10th:

I laid out and organized my girl's UVs into 2 separate maps: one for her body and hair and one for her clothes and accessories.
March 9th:
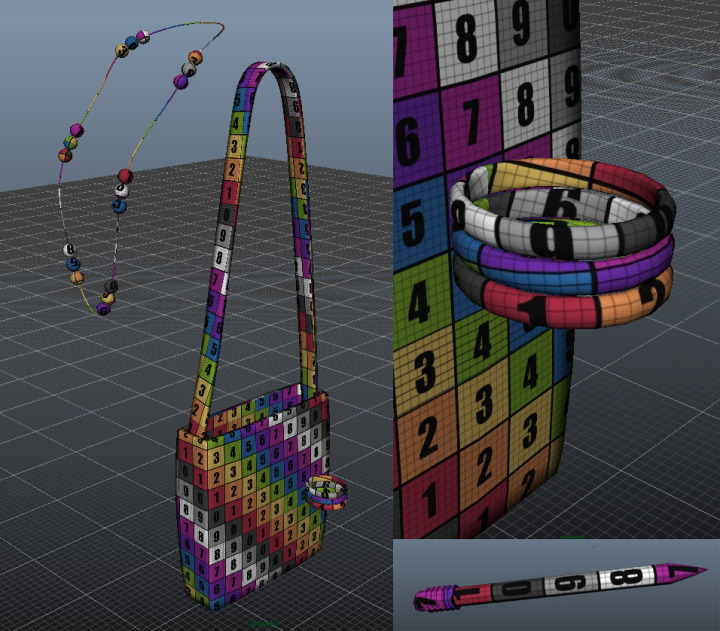
My girl's accessories are now all UVed.
March 8th:
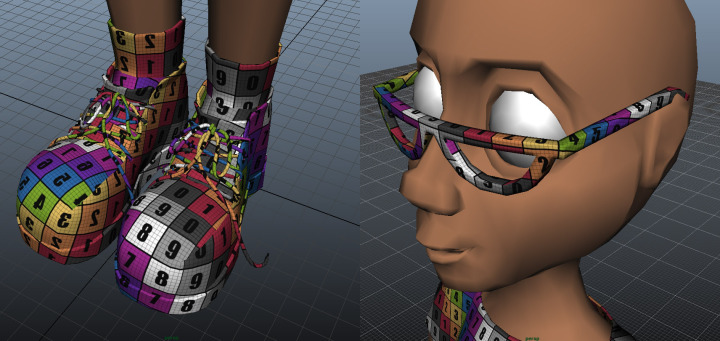
These UVs were painful. The shoelace UVs refused to unfold.
I tried everything I could think of. I cut them into large pieces, then I cut them into tiny pieces, then I selected whole edges of UVs and lined them up by hand. Every time I hit "unfold" they snarled themselves into oblivion: each of the edges of each single section zigzagged up and down like crazy, turning areas that I knew should line up fairly evenly horizontally into sharp, erratic waves. When I straightened these waves by hand and then hit "unfold" to even out the spacing of the polygons, they would inevitably turn into waves again, but tamer waves than they had been before. The more I lined them up manually the more manageable they became whenever I unfolded them, and I finally got them to generally resemble what I knew they should look like. It took hours, though. Hours: spent on shoelaces!
It was one of the most frustrating sessions I've ever spent UVing (and that's counting the time that I was first learning to UV and had no clue tools like "unfold" existed: I used to auto-UV everything and then spend a whole lot of time stitching). It was all the more frustrating because it would have been so easy to say: "They're shoelaces. Forget the UVs. I can slap a procedural texture or two on them and they'll be fine." But I knew that I was going to take the whole model into Mudbox to texture paint it, and as long as I was texture-painting the rest of it I might as well include the shoelaces. I just wanted them done the way that I intended them to be done, so I kept at it, despite the frustration. And I won in the end. The shoelaces were successfully Uved and texture painted with color and grime.
Amber: 1 Shoelaces: 0
March 7th:
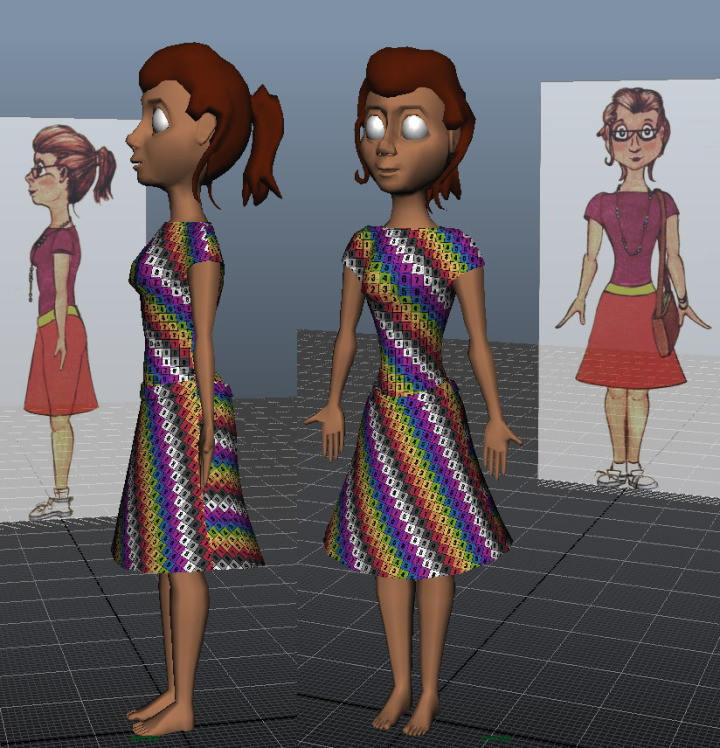
Not much art time today. Just a wee bit of UVing. Doesn't she look cute in her colorful checkerboard dress, though?
March 6th:
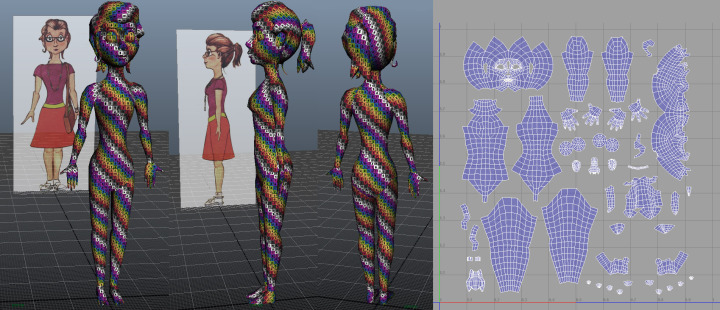
I UVed my girl's body.
March 5th:
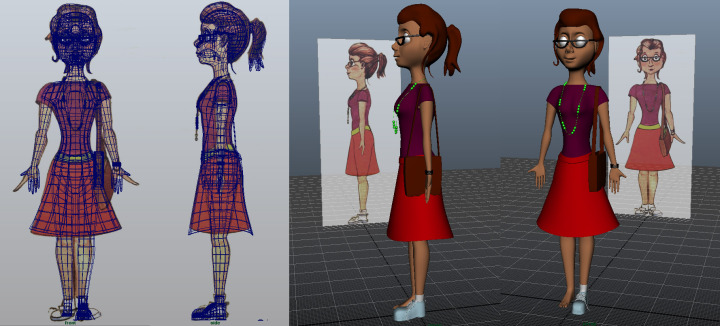
Modeling: CHECK!
March 4th:
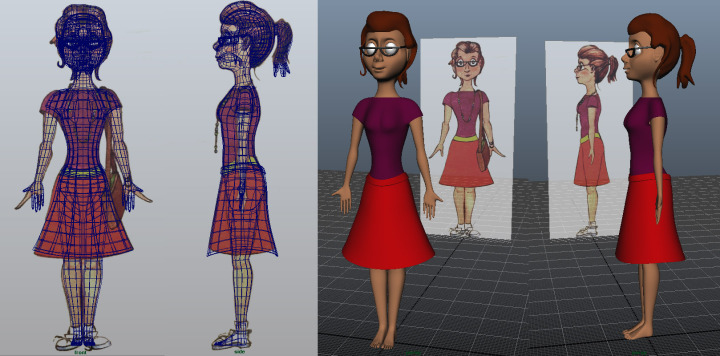
My girl's head, hair, and some clothing is now modeled.
March 3rd:
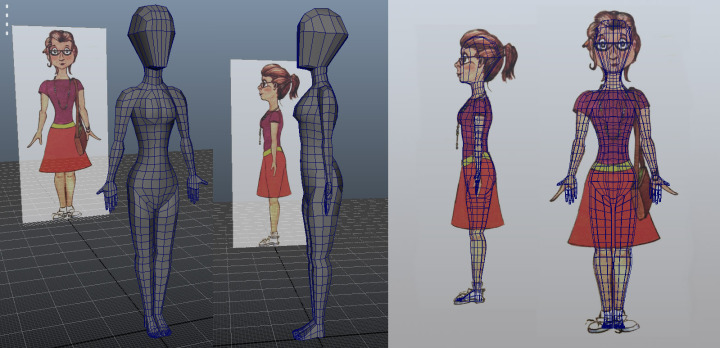
My model now has hands and feet. And boobs: her topology was stretching too much in the chest region so I added a few extra divisions there.
March 2nd:
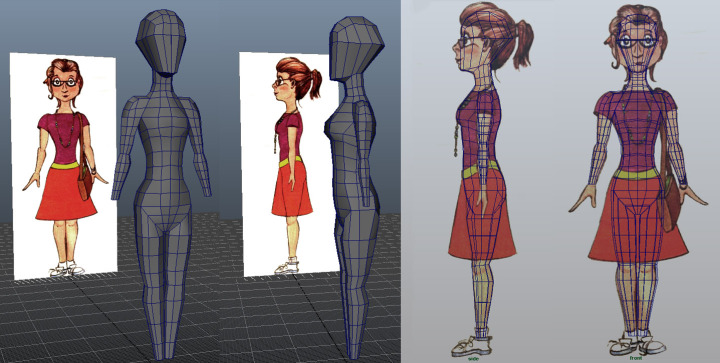
I started modeling the art student character that I designed to add a more "animated" side to my demo reel.
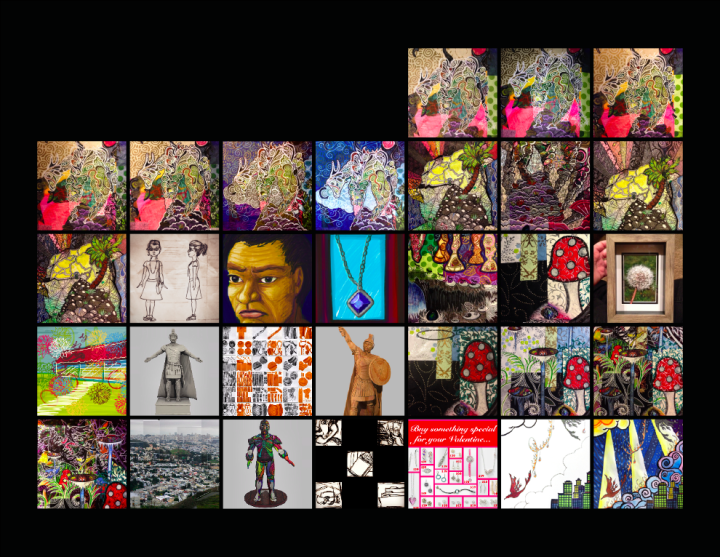
"Calendar" image of Daily Art created in January.
(Note: This image was actually created in February, but since I'm posting late I'm putting it here at the end of the month where it should go anyway.)
January 27th:
I stood my addict up from his crouched position and rendered him to show off the hidden elements of his texturing.
January 21st:
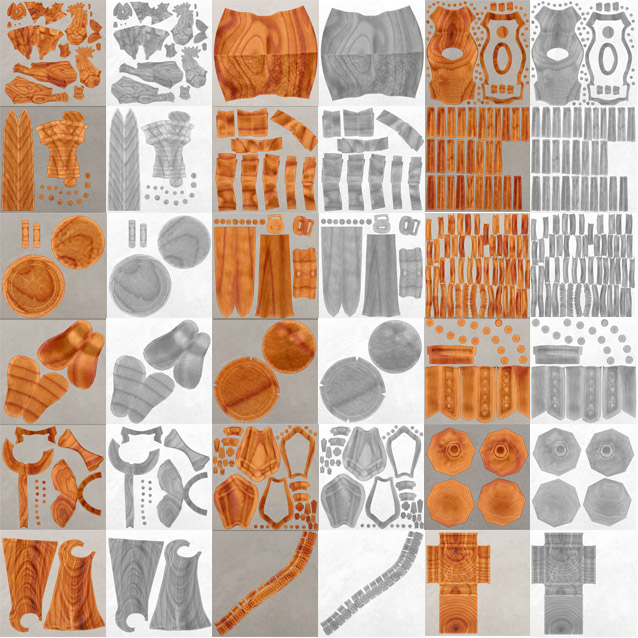
Okay, today's work can't be summed up in one image, so I'm posting three. The image above is a collage of all of the texture maps that I created today. The color maps are modifications of the diffuse color maps that I created yesterday. I did a little expert Photoshopping using my displacement maps on top of the color maps to create darker areas of grime in the crevices of the sculpture. The black and white images are specular maps that I created from a similar combination of the original color maps and the displacement maps, since the projections will reflect more light than the grimy crevices.
The next image is a Modo render of the posed, textured sculpture:
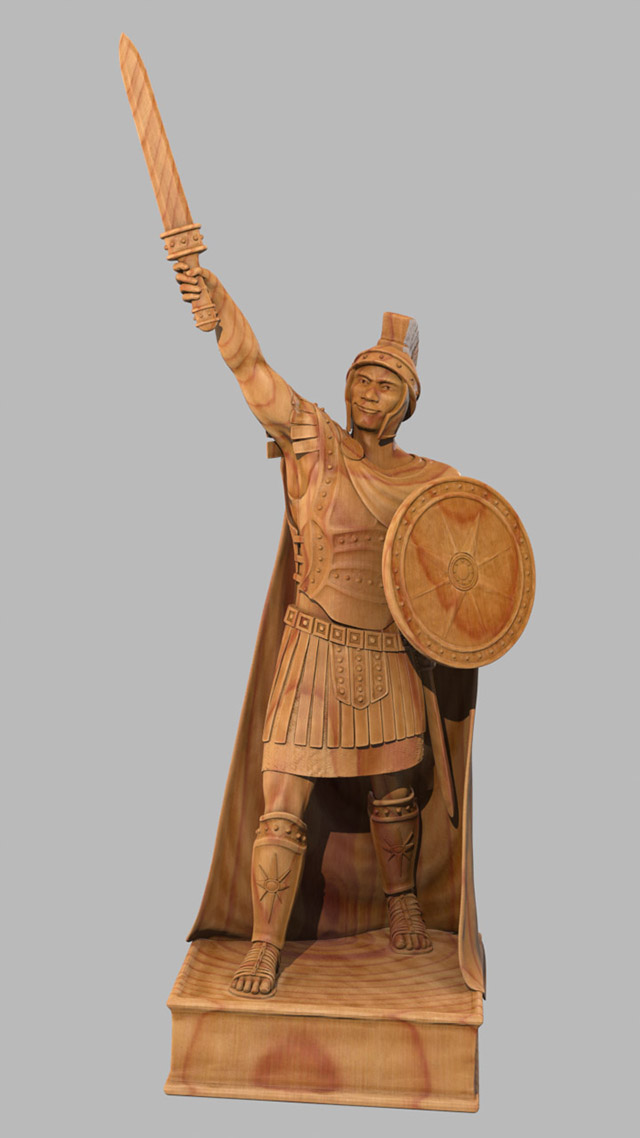
I'm showing this image next rather than the A-Frame because this is the position in which I textured the Warrior. A-Frame may be the default position for a model, but this is the default position for a sculpture. This is what my imaginary sculptor sculpted; it therefore follows that the woodgrain would contour to this pose rather than an A-Frame one.
Below is a Modo render of the A-Frame textured model:
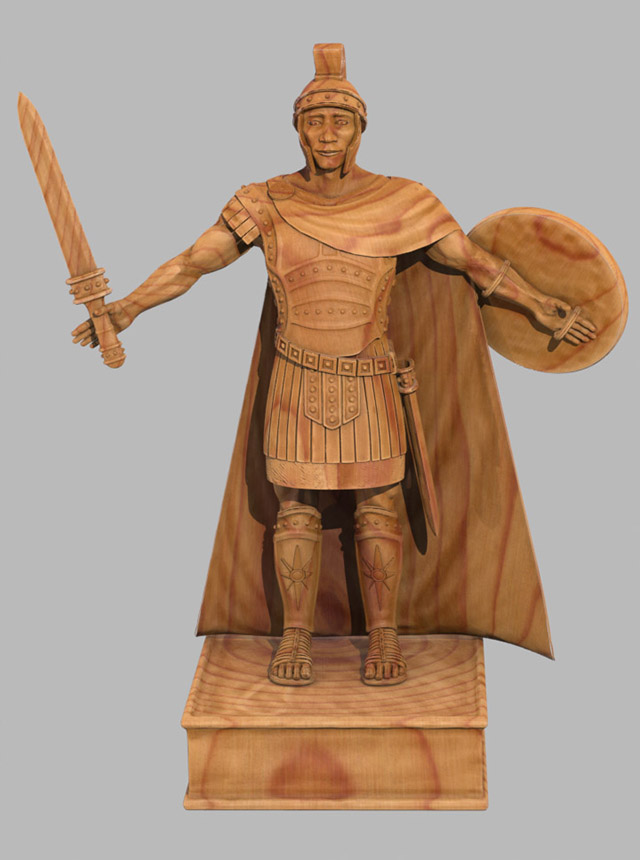
I must say that I am quite pleased with how he turned out.
The next few days will be quite a bit of rendering.
January 20th:
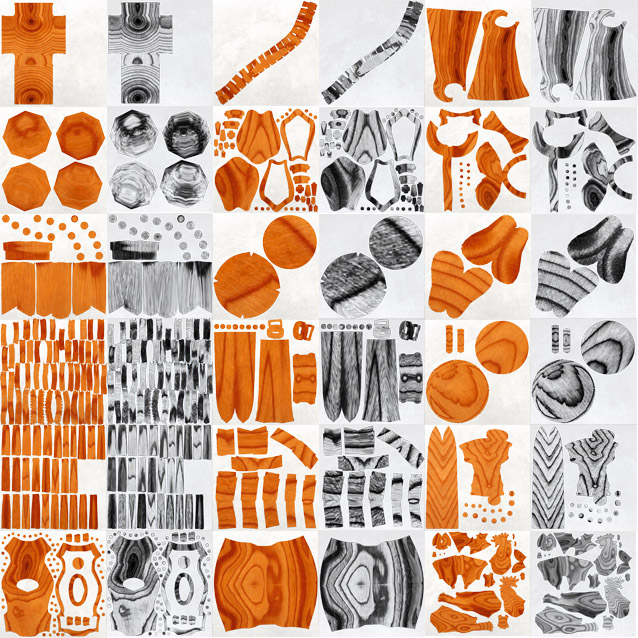
Today I texture painted my Warrior model in Mudbox. Then I added some grime in Photoshop and tweaked the images to make bump maps to accompany the color. There are far too many maps here for one character, but this is apparently how I laid out my UVs before I baked out my displacement and normal maps, so I'm just going with it because I really don't want to bake all of those maps again. I did, at least, resize the maps in proportion to one another.
January 19th:
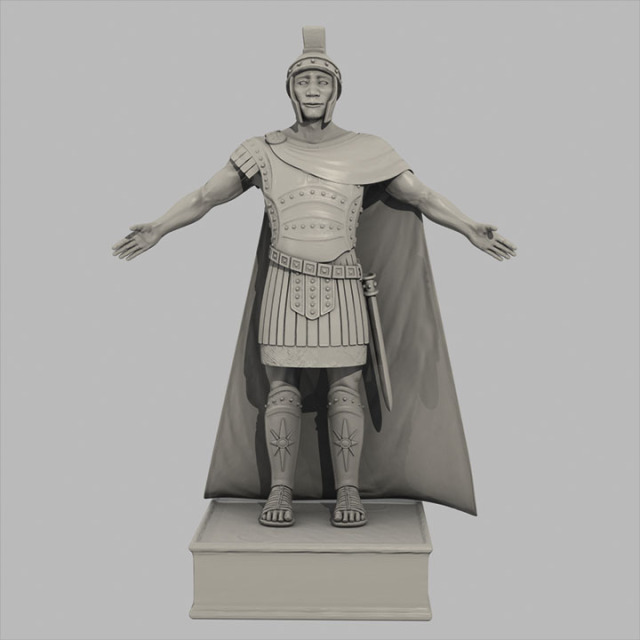
Back in late November I went to an animation expo and got some incredibly useful feedback on my demo reel. I won't bore you with all of it, but one of the key points was to show my characters in A-Frame as well as posed positions. This sounds like a simple task to accomplish, but when you're not a rigger and you pose some of your more complicated models using ZBrush's T-Pose tool (or you use a rig but delete the file with the rigged model after finishing your demo reel because you exported your posed model to another program for rendering and your final product is in that program, unrigged) rendering your model in A-Frame can become much easier said than done. So today I started my "back-track" reel work, returning my warrior to its full, upright and locked position. Next step: finally get around to texturing this guy...
I 3D printed my resume. It may be a bit gimmicky, but I'm hoping it will make me stand out as a modeler to have 3D modeled my own resume.
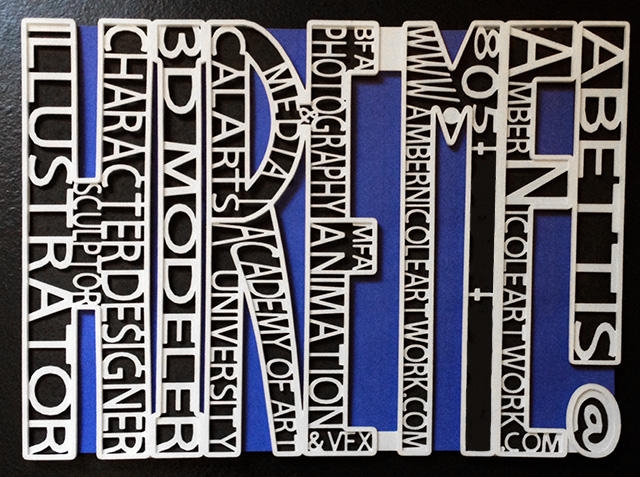
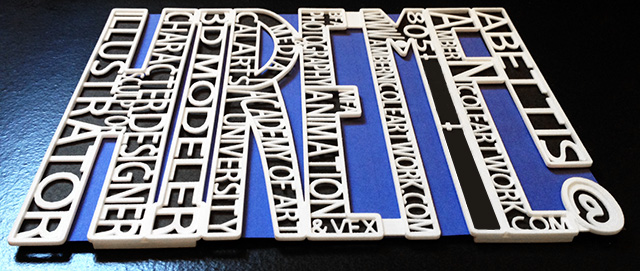
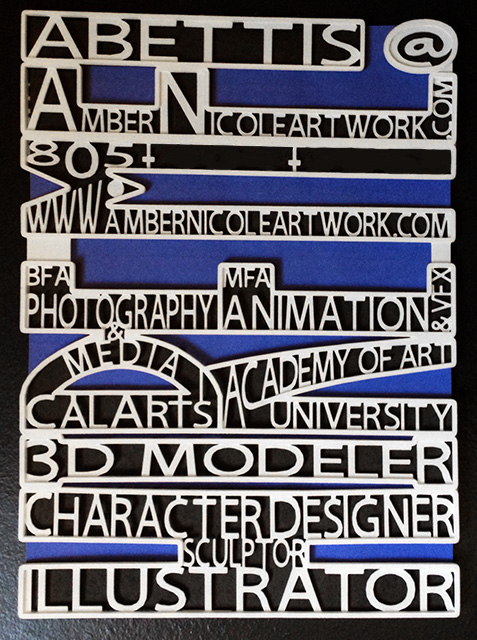
Note: The blacked out portion of the "M" in these images is concealing the portion of this 3D print that contains my phone number, which I do not wish to make public on the internet. Anyone wishing to contact me may do so via e-mail or by clicking the "Contact" tab on this website.
The model is approximately 5 1/2" x 7 1/2" and is pictured here with a printed sheet of paper slid into some tabs that I created behind the resume text for the very purpose of holding a printed sheet. The 3D print itself is everything that you see in white; the piece of paper is black text helping to define the words "HIRE ME!" against a blue background.
The tabs holding the paper into place on the other side of the print are more modeled words and one small character which I will post images of here at a later date once I finish designing the graphic that will appear on the back side of the card.
I've been working on the most recent pages of my Cut-Up Sketchbook for the past few days while I've been out of town:
Day 98:

Day 97:

Day 96:

Day 95:
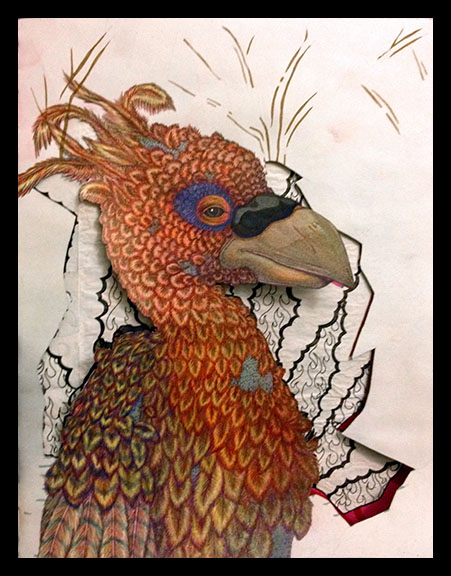
Then I spent this past weekend with my niece and nephew helping my sister prepare for my niece's birthday party, so the art on those days is all party and kid-related:
Day 94:
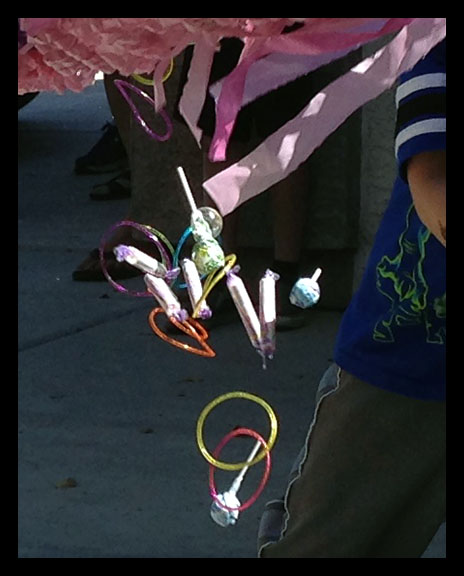
On Sunday I acted as the unofficial photographer of the birthday party. I won't post pictures of the kids online, but I will show a snippet of an action shot of the piñata smash:
Day 93:
Saturday was cupcake decorating day:

The crab was following a design that my sister found (on Pinterest, I'm sure...)
Day 92:
On Friday I drew some pictures of "Frozen" characters for my niece and nephew that they chose to fold into fans. My nephew wanted Olaf and Sven, which he then colored before adding drawings of his own of Anna and Cristophe:

And my niece wanted Elsa, which I colored for her:

Day 91:
And before that was more Cut-Up Sketchbook:

Day 90:
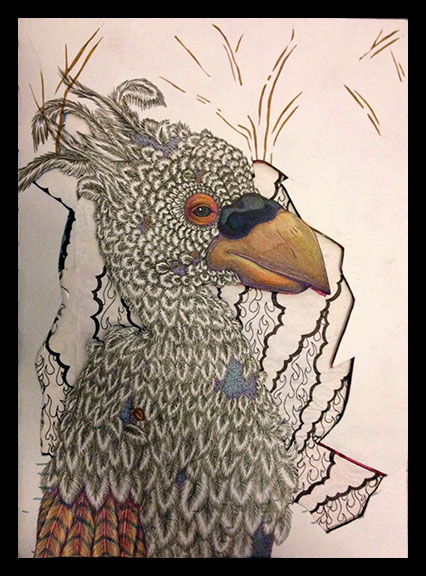
Day 89:
On day 89 I spent the better part of my work time taking screen shots, editing, and compositing progress photos for this blog. I think this qualifies as Daily Art considering the amount of time that I spent working in Photoshop, but it does not yield its own images. You'll just have to look at days 76-88 to see the results of day 89's work...
Day 88:
A tree:

In the form of a photo collage.
Day 87:
I made a list of all of the remaining tasks to complete in the revision of my Juggler's textures this day.


And then I decorated it:

Day 86:
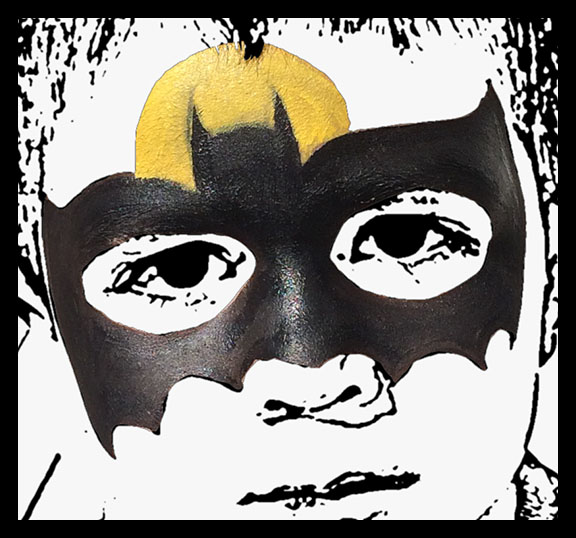
The 86th day of Daily Art was a Saturday on which I spent 5 hours face painting. Here's a sample of my work:
Day 85:
I also face painted on Friday:

And made a quick sign advertising the face painting:

Day 84:
On this Thursday and the two days before I spent time creating a 10 second long demo reel for my former school's Spring Show. As a student who was enrolled in the fall I still qualify for entrance into this year's show despite the fact that I've already graduated. This is the reel that I submitted:
Day 83:
I submitted that reel because I realized that the submission guidelines prohibited having any contact information anywhere other than the first frame of the 10 second time span (I edited out that frame for posting on the internet). This is the reel that I created the first time around (and the way that I would have left it had I had free reign).
Day 82:
This was the day that I began the reel-editing process.
And the day that I discovered that the resolution requirements were full 1920 x 1080 HD and that I had to re-render a couple of my turntables.
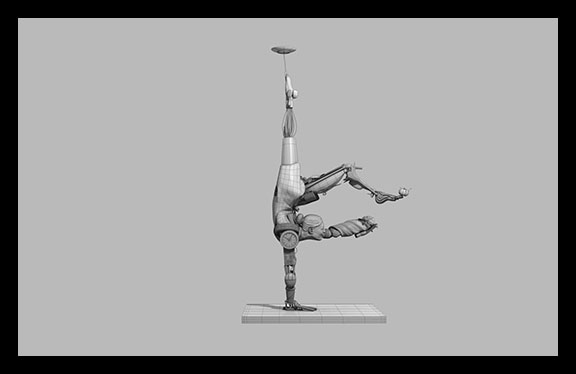
(such as the Juggler wireframe turntable that includes the image above.)
Day 81:
I spent this day trying to turn detail that I'd previously achieved through a normal map into detail achieved through a displacement map.
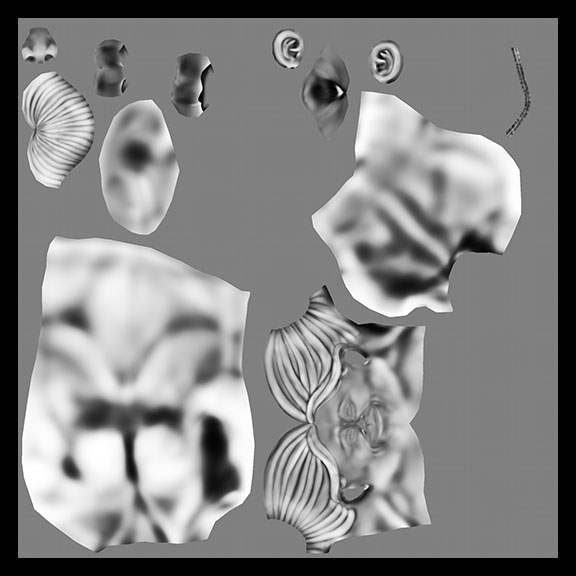
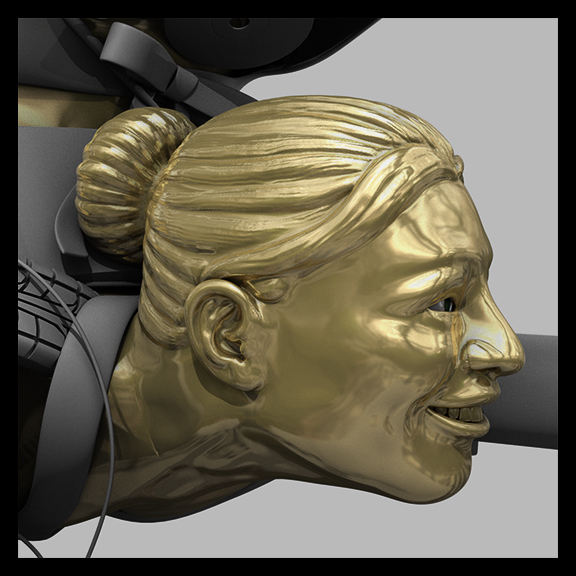
It worked in general, but lacked much of the sharp definition provided by the normal maps...
Day 80:
Daily Art day #80 was filled with technical behind-the-scenes stuff that provides no great imagery, like transferring sculpting from one object to another to utilize the UVs of the new item rather than the original one...
Day 79:
On this day I concocted some designs for face painting:
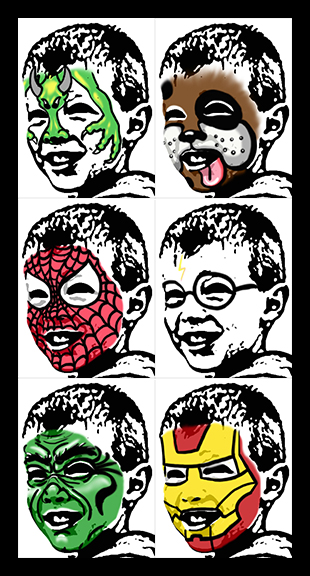
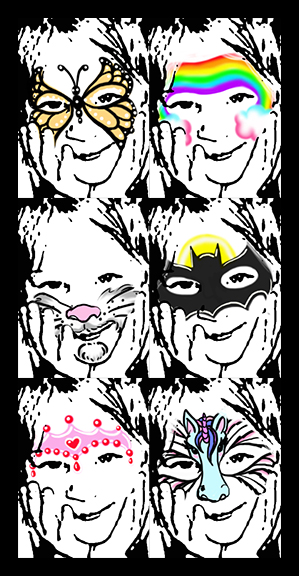
Day 78:
I reorganized my Juggler's UVs this day so that each individual piece of her won't require its own unique map when I texture paint her. I probably ended up averaging 3 - 5 items per map instead:
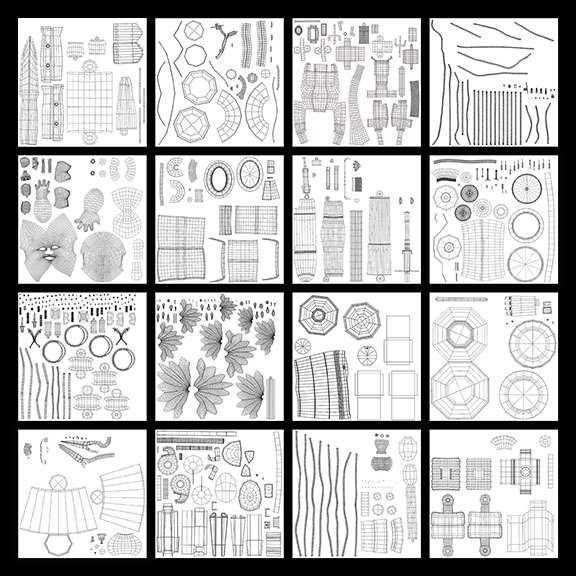
Day 77:
On this day I finished UVing every single piece on my Juggler so that I could really texture paint her rather than relying on procedurals as I did previously:
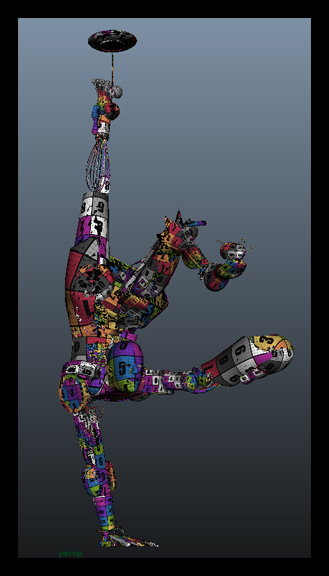
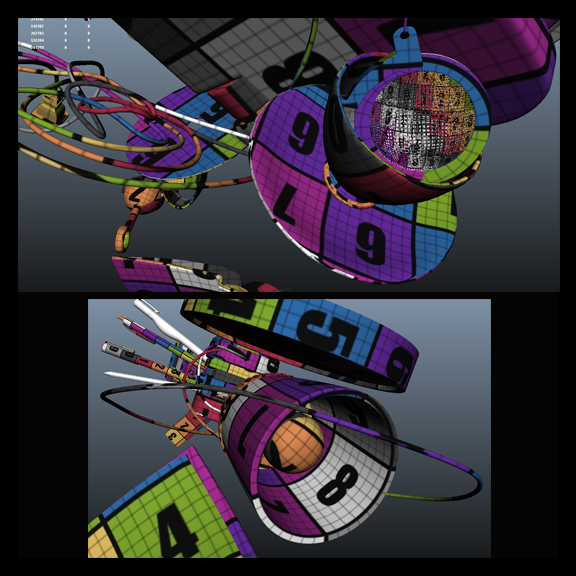
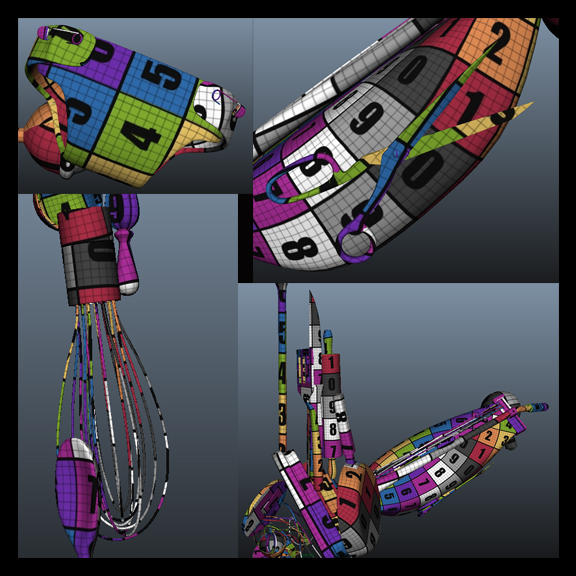
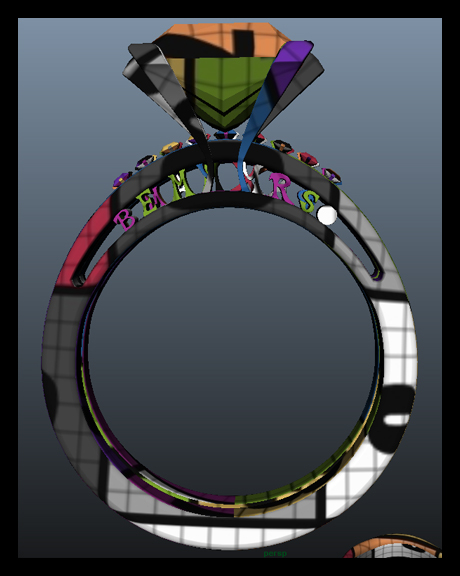

And, before that, I built a new mesh for the tire in my Juggler's shoulder:
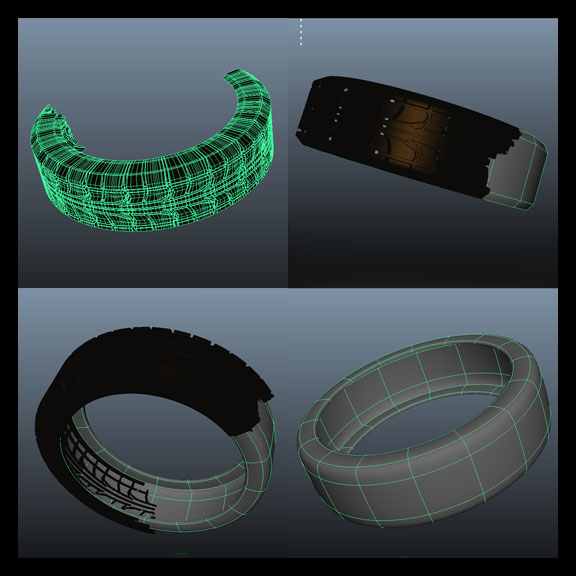
It has far fewer polygons than the tire with the modeled tread, but I think that I should be able to create the same look of a tread by creating a displacement map with the tread pattern in it.
Day 76:
And, finally, on the first/last day (depending on how you look at it) of Daily Art for this entry, I created a new, solid mesh to replace the very high-poly wire mesh in my Juggler's tea ball.
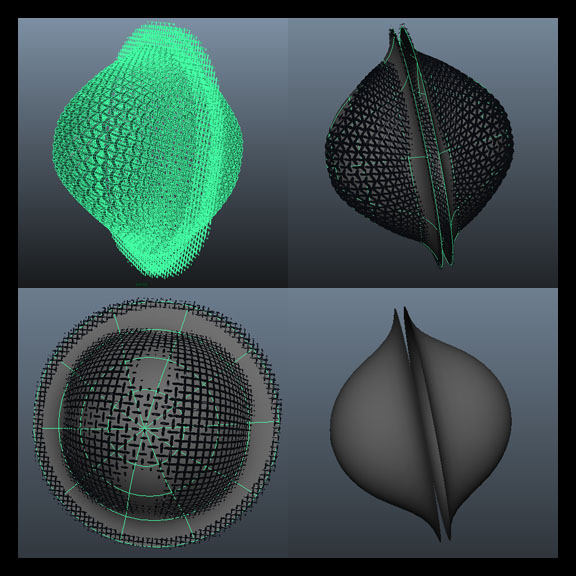
Then I created and tested displacement and transparency maps to use on the new mesh to make it look like it's built from the same wires as the original mesh:
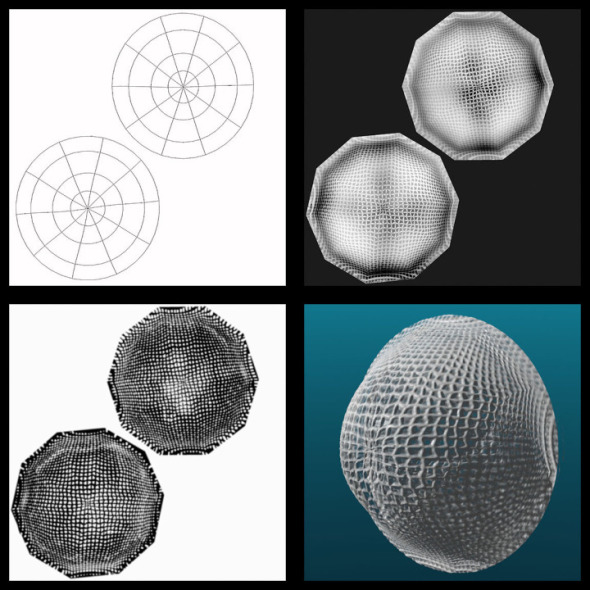
That's all folks!
It's been a busy week and a half since I last posted. I let a bit too much time get away from me between posts again, but it was for a very good reason: I put in an application to a Talent Development program at a major animation studio this week. Fingers crossed that something amazing comes of it! Now, back to daily art practices:
Day 75:
I revamped my demo reel a few times this week. Today I completed the most recent version; I fixed a couple of errors in the revamp that I completed earlier in the week. In the earlier version both my Gecko and my Juggler models disappeared shortly before the screen faded to black. One minute they were there, then suddenly they weren't, then the frame faded to black before progressing on to the next set of turntables. They both did this in slightly different ways for slightly different reasons, but I was able to identify both problems and adjust the file accordingly. I don't know how I missed it before I uploaded the version that I completed earlier this week to the internet...
Day 73 & 74:
I worked on the same thing two days in a row and never paused to take in-progress screen shots of it. So here is the finished image covering both days' worth of work.
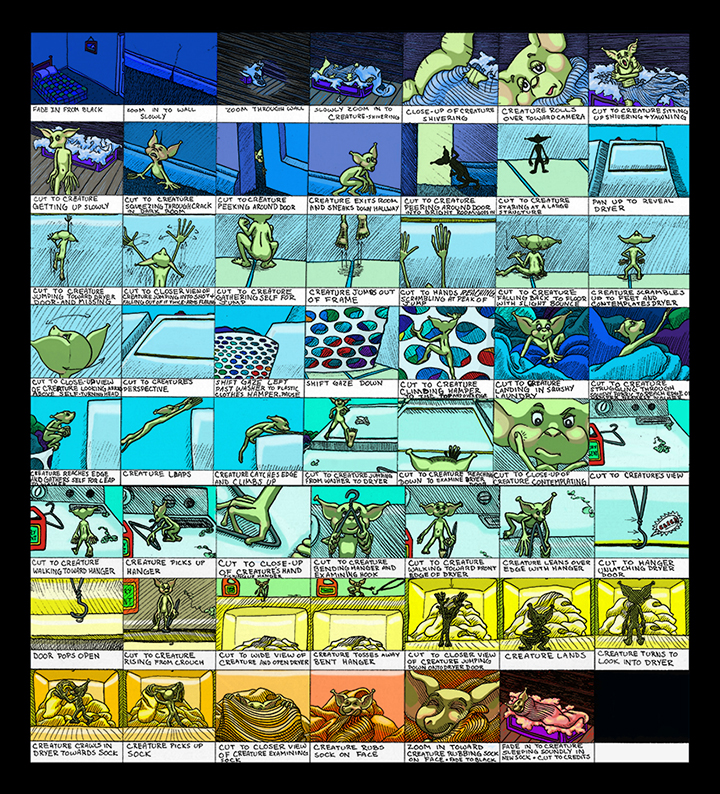
I didn't complete this entire storyboard in the two days that I worked on it. I actually began the thing a few years back, then lost interest in it in favor of other projects. It's been nestled in the back of my mind on my to-do list, however, and for some reason I really felt that it would be a valuable example to add to my Talent Development program application portfolio. Most of the work that I completed over the two day span was coloring the panels. All of the initial drawing and layout was already completed, and I had blocks of color multiplied over each panel depicting the dominant shade that I wanted each frame to be. The work that I did over the weekend was pretty akin to coloring in a digital coloring book of my own creation.
Day 72:
Saturday's work was just a quick sketch of a lion head. I found myself studying the contours of the face of a leopard whose photograph appears occasionally as my computer's desktop wallpaper and wanted to draw a new version of it. Changing the proportions of the face turned it distinctly lion-like, but, as I wasn't really aiming for any type of cat in particular, I was pleased with it. I'd like to turn this sketch into vector artwork in Illustrator someday.
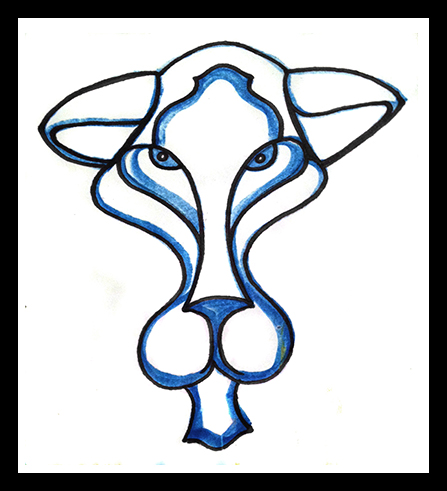
Day 71:
Friday I spent a short amount of time UVing the clock on my Juggler:
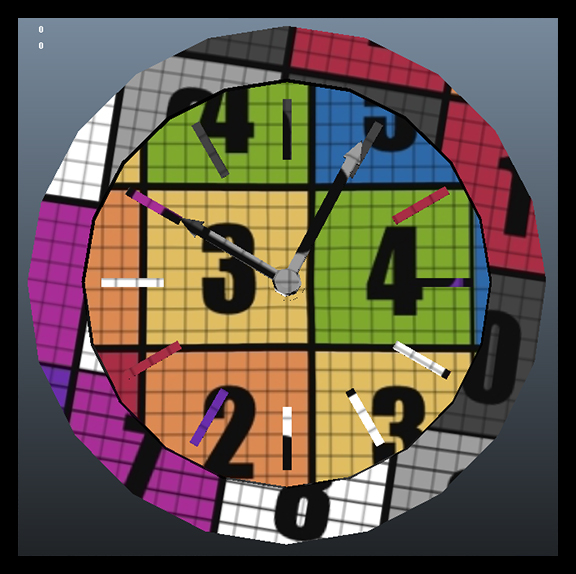

I've been UVing all of the Juggler's pieces separately because I started working on the character this way, but I know now that that was a mistake. Having a separate UV map for each piece of the character wastes space and makes the character far too data-heavy to function efficiently. I can't do much to fix all of the UVs on the objects that I've already added normal and texture maps to without re-doing an awful lot of work, but I can, and will, combine the UV maps of some of objects that have no texture information to them yet before I go about adding such information. I'm planning to dispense with the procedural textures that I gave the Juggler for my thesis and texture paint her in Mudbox instead. She will be a wonderful piece to add to my texture portfolio, which is distinctly lacking at the moment.
Day 70:
My art on Thursday consisted solely of a quick little face-painted mask of-sorts. More practice for when I begin doing this at the farmer's market.
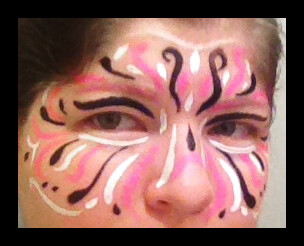
Day 69:
Wednesday was the day that I truly revamped my demo reel. I fixed the little issues that I missed later in the week, but this was the day that I truly put effort into working on it. It's fairly similar to the reel that I've been using (it features many of the same models with the same turntables), but the turntables are re-ordered to showcase my best models first. I know that this is how a demo reel should go: you show your best work first so that the recruiter who views 100 demo reels per day becomes interested immediately and doesn't just turn your reel off thinking that everything on it must be as mediocre as the first thing and move on to the next reel. I know that's how it works, and yet... I've been using my thesis reel because I know that it has my best models on it. The problem is: I designed my thesis reel to work up to my best work because I knew that the panel that it was intended for was going to watch the entire thing and then discuss it. I saved the best for last, which is exactly opposite of what you should do when you create a demo reel. And somehow, until quite recently, I missed the error. I never revamped my thesis reel to make it more appropriate as a demo reel in any way other than changing the slate information to be more suited to its purpose; until now.
The new reel puts my Addict first, followed by my newly-textured Gecko. Then comes the Juggler and the Warrior. Next is the Gallery environment. I nixed the still image of all of the models in the environment together because it no longer reflects the current state of the models now that the Gecko is textured; it also makes the addition of my Felix model tagged onto the end distinctly out-of place.
This version of the reel includes the 8-bit Dragon for "Amazing Adventure" at the very end after Felix, but I nixed that turntable later in the week when I fixed the errors in the reel because I'm just not happy with the quality of the turntable that I created for that model. It's not lit properly, the speed isn't constant, there's no wireframe view... It just looks unprofessional compared to the rest of the reel. Felix doesn't have a wireframe turn either, but the quality of the turn-around that he does have is so far above the one that I quickly set up and rendered of the dragon that I'm still satisfied having him at the end.
Day 68:
I spent the first three days of this round of daily art prepping my Szeth-Son-Son-Vallano model for 3D printing.

I'm not planning to sell him or anything of that nature, but, after the artist who designed the character said such nice things about the model, I figured that it would be nice to have a physical representation of him. I might even try to send one to the artist and the author who created the character if I'm successful; I know that the author, at least, really appreciates fan art.
Unfortunately, getting a model such as this ready for 3D printing is no easy feat. First off, The model has to be water-tight, which means one single, solid piece. When I built the model he consisted of exactly 15 different pieces. It also has to be under one million polygons, and the model that I built had something like 8 million quads if my memory serves me correctly. There is also a minimum thickness that any part of the model can be (how much that is depends on the material used to create the print), a minimum distance between two separate sections of the model (which means no intersecting or otherwise touching geometry), and a slew of other stipulations about the dimensions of the piece which will cause me less grief than the few that I have already mentioned. This means that I had to decimate the model to bring the poly-count down below one million while keeping all of my sculpted detail, and then connect all of the different pieces and any piece of geometry currently touching any other (this includes connecting the fingers resting on the surface of the model's face to the face as well as attaching the wrists to the sleeves and the coat to the shirt and the pants to the belt and every other piece to all of the other pieces).
I originally thought that I could complete the task of connecting all of the different pieces of the model fairly easily by putting all of the subtools on one layer in ZBrush and Dynameshing the entire thing, but it didn't work as well as I'd hoped. The geometry that Dynamesh produced needed so much clean up that it just wasn't worth it - at least by pixel-pushing and merging vertices in Maya I have more control and can keep track of what's going on with the shape of the model. I couldn't even make sense of all of the intersecting geometry that Dynamesh created...
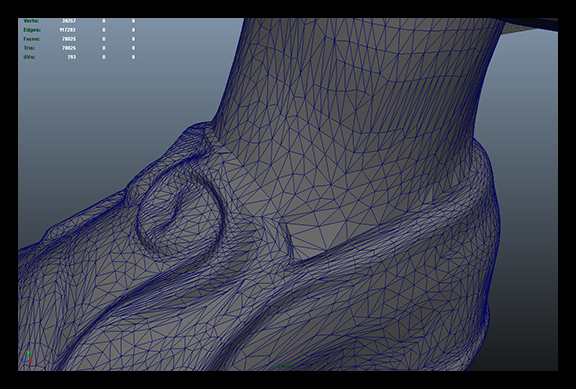
So, after trying and failing attempted shortcuts in ZBrush a few times I brought the decimated model into Maya and have been merging vertices "by hand" ever since. The model will still require a lot more work before it's done, as well as some additional ZBrush sculpting to clean up the flow of the seams once the model is all one piece, but it's coming along:

The above image illustrates where I've deleted geometry from both the shirt and the belt in the areas that it overlaps. Next I will connect the vertices to make it water-tight.

This image clearly illustrates why the model will require extra sculpting in ZBrush to clean up the newly-created seams between the previously separate items.
Day 67:
On this day I connected Szeth's calves to the inside of his trouser legs:

This image shows all of the successful connections that I have made thus far:

Day 66:
The first day that I worked on Szeth I began by connecting his shoes to his feet.
That's all that I did last week. The coming week should be very heavily Juggler-oriented, as I'm trying to create all-new textures for her in the hopes of submitting her for consideration in the Academy of Art's Spring Show. I think she'd be a fine fit for the Hard-Surface Model category.
This past week I've neglected my art a bit: I only did quick little projects here and there. I didn't spend any great amount of time on any one thing. Early in the week I tested out some new face paints that I got so that I can begin earning some extra money face painting at a local farmer's market. In the middle of the week I switched gears to a drawing/painting that I created as a birthday gift for my father, and this weekend I've UVed a couple of objects on my Juggler, because I want to go back and hand-paint all of her textures rather than using procedurals.
Day 65:
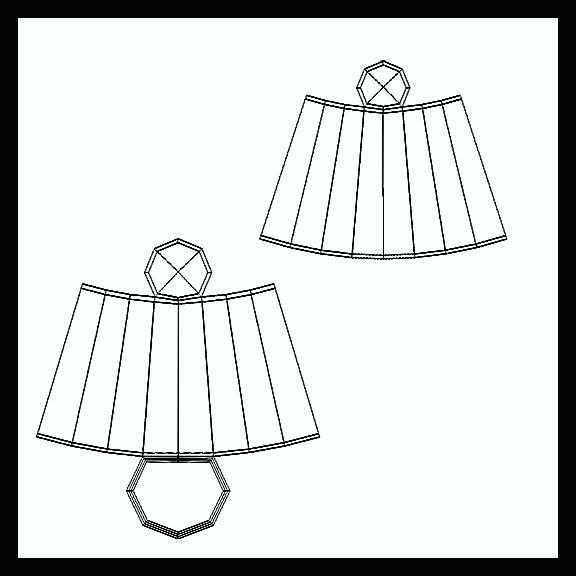
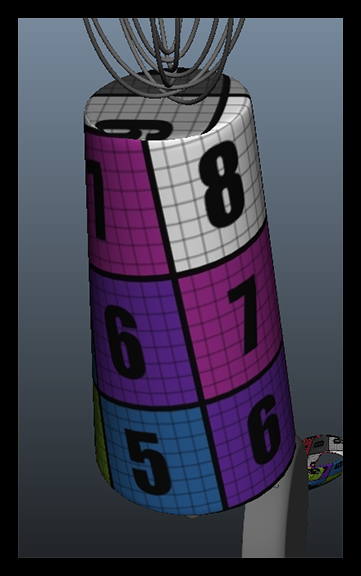
A quick UV job:
Day 64:
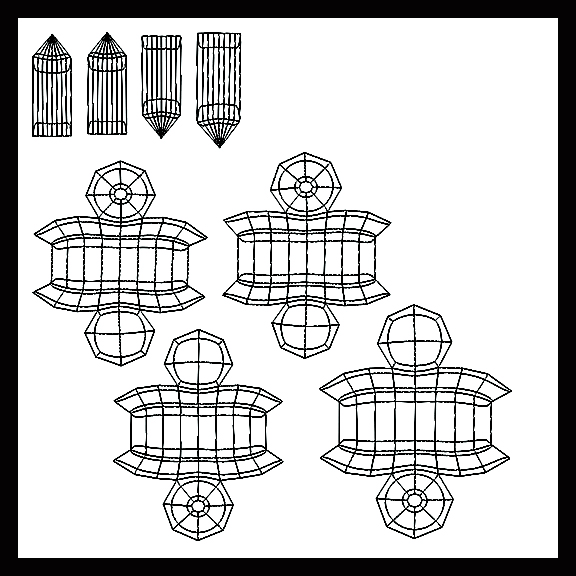
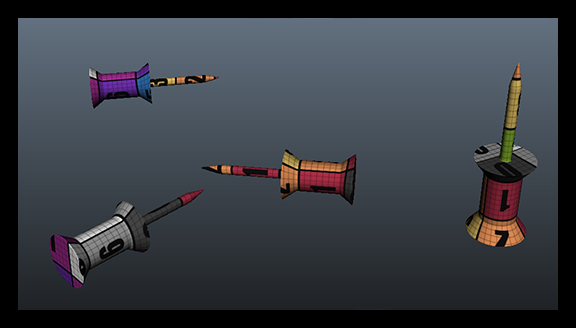
Push pin UVs:
Day 63:
I painted (well, sort of: I cheated by using a paint pen rather than a brush) text on a painting/drawing that I'd completed the day before.
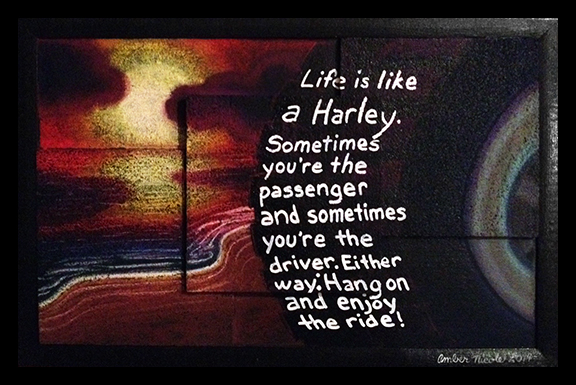
I'm not entirely happy with the text. It's a little squished at the bottom and a bit too large up top, but there wasn't much to do about it unless I'd re-painted that whole section, and I lacked both time and motivation for that...
Day 62:
The painting minus text:
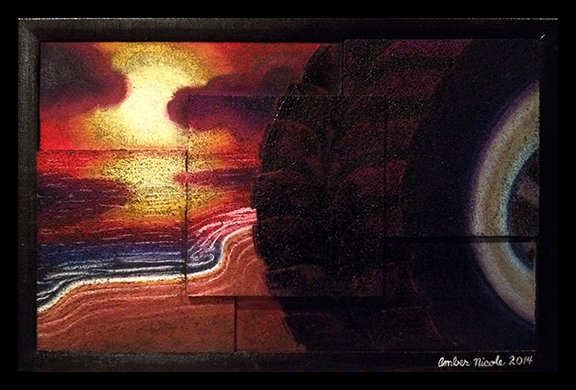
I keep calling this a "painting" or "painting/drawing" because it's actually mixed media. The only colors that I painted were black and white (and the white was only for the signature). Everything else was pastel. The pastel was originally much more vivid, but it developed dark spots following the "grain" of the cork that I painted the image on when I sprayed it with a clear gloss coating. I'm not entirely sure why that was, but I also wasn't too upset by it because the new texture reminded me quite a bit of the rough rubber texture of a tire. So I went with it.
Day 61:
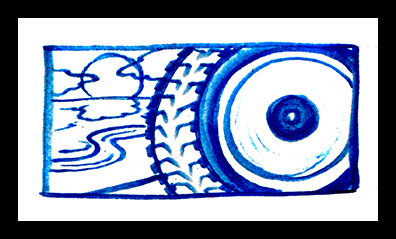
On this day I put together the cork pieces used in the image, painted everything with a black base coat, and drew up a couple of quick concepts for what I wanted the image to be. This one won out:
Day 60:
On day 60 I had my first successful test with the face paint that I was practicing working with:
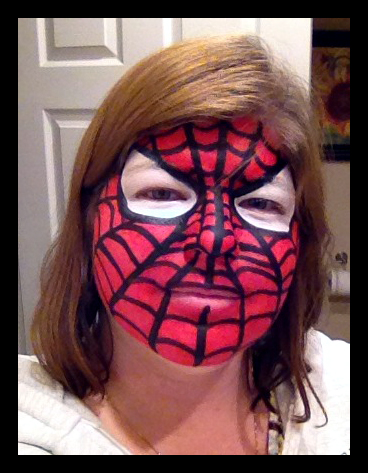
The ones that I did before this, however, were not nearly as successful...
Day 59:
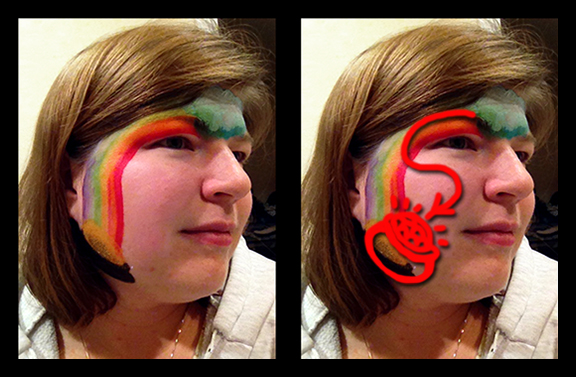
The above image is what I painted and a guide for what I decided afterward that I should have painted. The painted image was too far back on the face: the rainbow should have made a tighter curve around the eye so that the pot of gold would land more on the surface of the cheek rather than falling off the face down toward the neck. Now I know for next time.
Day 58:
My first test with the face paints wasn't on a face, but rather my own hand.
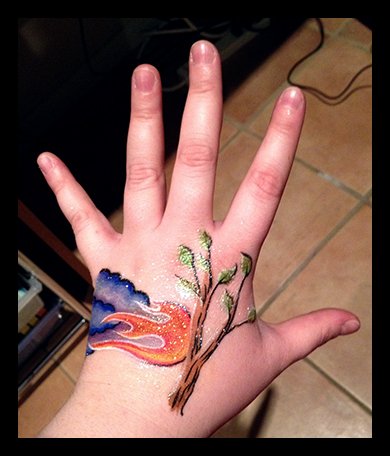
This image has all kinds of glitter and shimmer powders and such on it because I wanted to test all of the different types of products that I'd gotten and then make sure that it would all come off with the make-up remover cloths that I got to use with the paints. I just kind of doodled whatever came out of my head here, and I'll be the first to say that it wasn't very impressive, but, hey, it was just a test... I'll get better at improvising with this stuff.
Day 49:
Today I edited the turntable video of my Gecko to include the new color renders of the fully textured model:
I'm quite happy with it. Now I just need to edit it into the longer video of my demo reel.
Day 48:
I've textured my Gecko in Modo.

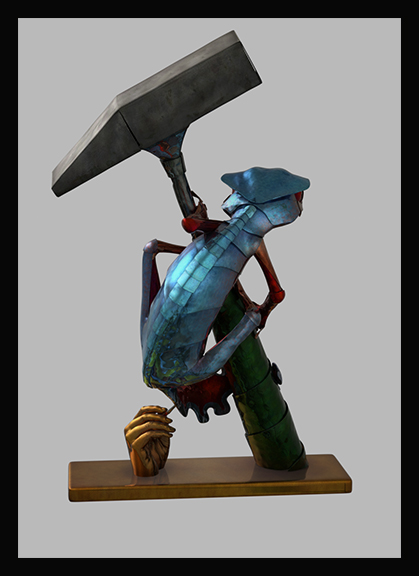
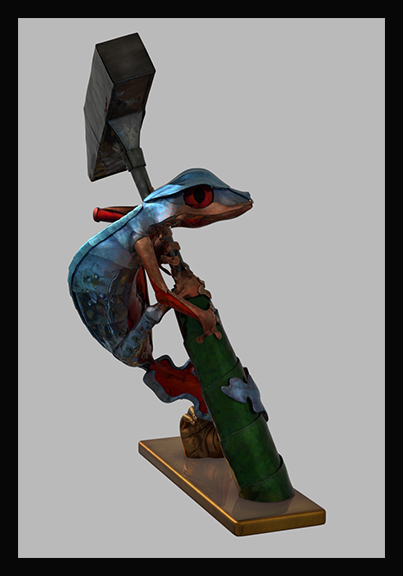
I altered his color maps just a bit, tweaking levels and saturation for individual diffuse and specular color maps, and I also created maps for specular amount from a combination of the color and normal maps. I put them on a metal-like material that I made in Modo and the above images are the result.
Next step: rendering a color turntable.